
Determining the number of pot lights in a kitchen involves several factors, but a good starting point is to place them on a grid spaced roughly 4-6 feet apart. This ensures even illumination for both general lighting kitchen and specific kitchen task lighting areas, contributing to an effective kitchen lighting layout.
A well-lit kitchen is more than just functional; it’s a hub for activity, family, and creativity. The right lighting can transform a kitchen from a purely utilitarian space into a warm, inviting, and highly efficient environment. When planning your kitchen ceiling lights spacing, especially with recessed lighting kitchen fixtures, often referred to as “pot lights,” careful consideration is key. This guide will help you navigate the complexities of choosing the number of pot lights in a kitchen and their ideal placement.
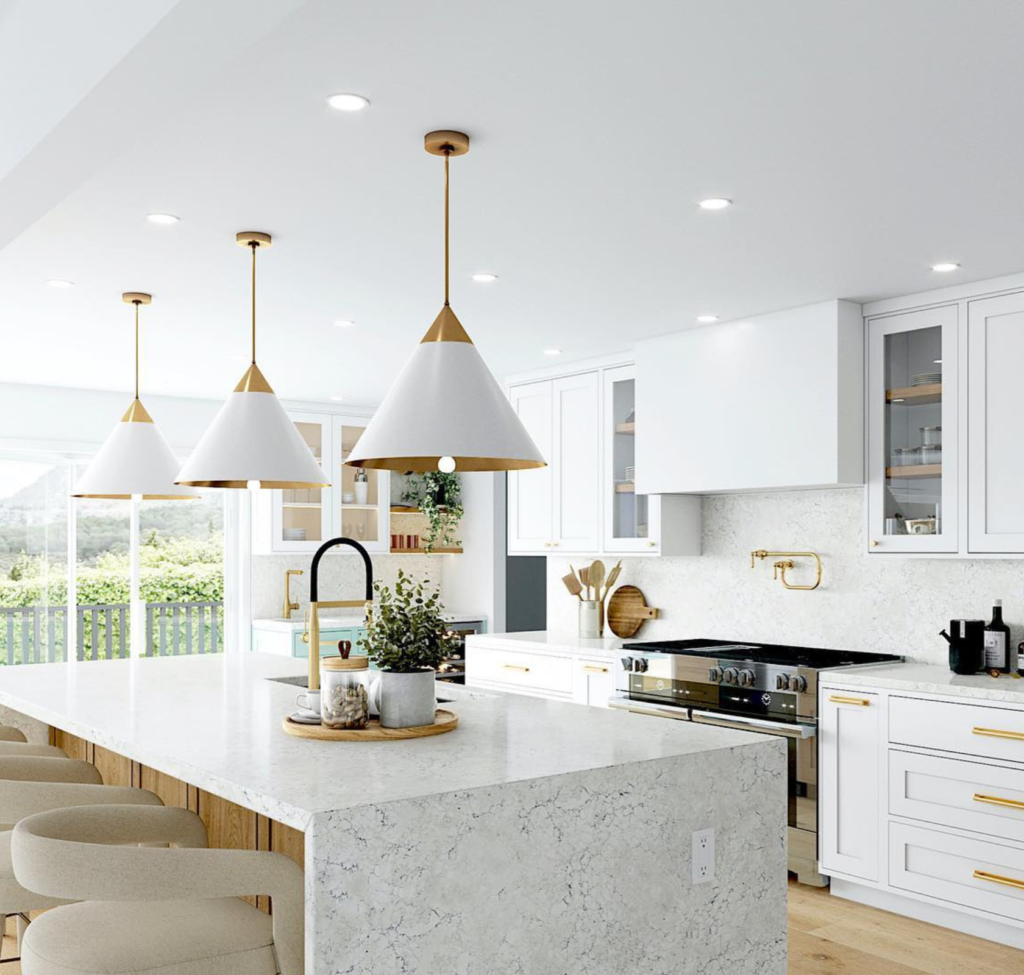
Image Source: blog.1800lighting.com
Fathoming Your Kitchen Lighting Needs
Before you even think about drilling holes in your ceiling, it’s crucial to understand the different types of lighting a kitchen requires. A comprehensive kitchen lighting layout typically incorporates three layers: ambient, task, and accent lighting.
Ambient Lighting: The Foundation
Ambient lighting kitchen provides the overall illumination for the space. This is the base layer that makes the kitchen safe and functional for general use. Pot lights are excellent for providing this diffuse, overhead light. They cast a broad, even glow, reducing shadows and making it easy to move around.
Task Lighting: For Precision Work
Kitchen task lighting is focused illumination directed at specific work areas. This includes over countertops where food preparation happens, the sink for washing dishes, and the stovetop for cooking. While pot lights can contribute to task lighting, dedicated fixtures like under-cabinet lights or pendant lights are often more effective for these concentrated needs.
Accent Lighting: Highlighting Features
Accent lighting is used to draw attention to architectural details, artwork, or decorative elements in the kitchen. This could involve small spotlights aimed at cabinets or shelves. Pot lights can sometimes serve this purpose if they are dimmable and adjustable.
Calculating the Number of Pot Lights
So, how many pot lights in a kitchen do you actually need? There isn’t a single magic number, as it depends on the kitchen’s size, ceiling height, the wattage and beam spread of the pot lights themselves, and your personal preferences. However, we can employ a few methods to help with a pot light calculation kitchen.
The Grid Method
This is a common and practical approach for determining kitchen ceiling lights spacing.
- Measure Your Kitchen: Note down the length and width of your kitchen in feet.
- Determine Spacing: The general rule of thumb for kitchen ceiling lights spacing with standard 6-inch pot lights is to space them 4-6 feet apart. For smaller 4-inch lights, you might reduce the spacing to 3-4 feet.
- Calculate Rows and Fixtures Per Row:
- Along the Length: Divide the length of your kitchen by your desired spacing. Round up to the nearest whole number to ensure coverage.
- Along the Width: Divide the width of your kitchen by your desired spacing. Round up to the nearest whole number.
- Total Fixtures: Multiply the number of fixtures per row (along the length) by the number of rows (along the width).
Example Calculation:
Let’s say you have a kitchen that is 12 feet long and 10 feet wide, and you’re using 6-inch pot lights with a 5-foot spacing.
- Along the Length (12 feet): 12 feet / 5 feet = 2.4. Round up to 3 fixtures.
- Along the Width (10 feet): 10 feet / 5 feet = 2. Round up to 2 rows.
- Total Pot Lights: 3 fixtures/row * 2 rows = 6 pot lights.
This provides a basic grid for general lighting kitchen.
The Wattage-Per-Square-Foot Method
Another approach to pot light calculation kitchen involves considering the desired light level. This method is a bit more general but can be helpful.
- General Guideline: Aim for approximately 1 to 1.5 watts per square foot for general kitchen lighting.
- Calculate Total Wattage: Multiply your kitchen’s square footage by your desired wattage per square foot.
- Determine Fixture Wattage: Look at the wattage of the LED bulbs you plan to use (or the equivalent wattage for LED replacements).
- Calculate Number of Fixtures: Divide the total required wattage by the wattage of each bulb.
Example:
For a 120 sq ft kitchen (10 ft x 12 ft) aiming for 1.2 watts per sq ft:
- Total Wattage: 120 sq ft * 1.2 watts/sq ft = 144 watts.
- If using 8-watt LED bulbs: 144 watts / 8 watts/bulb = 18 bulbs.
This method might seem to yield a higher number than the grid method. The discrepancy arises because the grid method focuses on physical spacing for even coverage, while the wattage method focuses on overall brightness. Often, a combination of both is ideal. You might use the grid method for spacing and then adjust the number of fixtures or the bulb brightness to achieve the desired overall lumen output.
The Lumen Method
This is a more precise approach. Lumens measure the brightness of a light source.
- Determine Desired Foot-Candles: Foot-candles (fc) are a measure of illuminance (light falling on a surface). For kitchens, a general illumination level of 20-50 fc is recommended. For task areas, you might aim for 70-100 fc.
- Calculate Total Lumens Needed: Multiply the area of your kitchen (in square feet) by the desired foot-candles.
- Total Lumens = Area (sq ft) × Foot-candles (fc)
- Consider Lumen Depreciation and Fixture Efficiency: Lights don’t maintain their full lumen output over time, and fixtures can absorb some light. Factor in a depreciation factor (around 0.7-0.8) and the lumen output of your chosen bulbs. The Coefficient of Utilization (CU) and Light Loss Factor (LLF) are technical terms used in lighting design for this. For simpler calculations, you can divide the desired lumens by the lumen output per bulb.
- Divide by Bulb Lumens: Divide the total lumens needed by the lumen output of your chosen pot light bulb.
Example:
For a 120 sq ft kitchen requiring an average of 30 fc:
- Total Lumens Needed: 120 sq ft * 30 fc = 3600 lumens.
- If using LED bulbs that output 800 lumens each: 3600 lumens / 800 lumens/bulb = 4.5 bulbs. Round up to 5 bulbs.
This method directly addresses the brightness needed for the space.
Optimizing Pot Light Placement in Your Kitchen
Simply knowing the number of pot lights in a kitchen isn’t enough; optimal pot light placement is critical for effective kitchen lighting layout.
General Lighting Grid
As discussed, a grid pattern is the most common and effective way to provide general lighting kitchen using pot lights.
- Edge Spacing: Avoid placing lights too close to walls. Typically, the first row of lights should be about 2-3 feet from the wall. This helps distribute light evenly and prevents a “tunnel effect.”
- Ceiling Height Influence: Higher ceilings require wider beam spreads or more fixtures to achieve adequate illumination on task surfaces. Low ceilings can feel overwhelmed by too many large pot lights.
Task Area Illumination
While pot lights contribute, they aren’t always the best for kitchen task lighting.
- Countertops: Place pot lights between the ceiling lights and the edge of the countertop to avoid casting shadows when you’re standing at the counter. Ideally, pot lights should be positioned so that their light falls on the counter before your body blocks it. A common recommendation is to place them 2-3 feet from the wall, aligned with the edge of your base cabinets.
- Stovetop/Range: A dedicated range hood with built-in lighting is essential. Additional pot lights can supplement this, but their placement should be considered so they don’t create glare on the cooking surface.
- Sink: Similar to countertops, consider placement to avoid shadows when you’re at the sink.
Avoiding Glare and Hot Spots
Optimal pot light placement also means minimizing glare and harsh shadows.
- Beam Spread: Choose pot lights with appropriate beam spreads. Wider beams (e.g., 90-120 degrees) are good for general ambient light, while narrower beams (e.g., 30-60 degrees) can be used for accentuating features or for more focused task lighting.
- Dimmer Switches: Install dimmer switches on most, if not all, of your pot lights. This provides flexibility, allowing you to adjust the brightness for different activities and moods, contributing to both ambient and task lighting needs.
Consideration for Kitchen Features
- Islands and Peninsulas: These areas often benefit from pendant lights, which provide focused kitchen task lighting and can also be decorative. If using pot lights, place them around the island rather than directly over it to avoid competing with pendant lights. A common approach is to place pot lights in the perimeter of the ceiling and pendants over the island.
- Cabinets: For deep cabinets or upper cabinets that extend to the ceiling, consider where the light from the pot lights will fall. You might need to adjust spacing or rely more on under-cabinet lighting.
Types of Pot Lights and Their Impact
The type of recessed lighting kitchen fixture you choose will influence your pot light calculation kitchen and kitchen ceiling lights spacing.
Size Matters
- 6-inch Recessed Lights: The most common size. They offer a broad beam spread and are excellent for general ambient lighting. Their larger size means they require more spacing to avoid overlap and a cluttered look. A spacing of 4-6 feet is typical.
- 4-inch Recessed Lights: More discreet and suitable for smaller kitchens, lower ceilings, or when you need more fixtures for a more uniform light distribution. They can be spaced closer together, often 3-4 feet apart. They are also good for creating accent lighting effects.
- 3-inch or Smaller: Often used for accent lighting or in very specific task areas.
Beam Spread
- Flood (Wide Beam): Typically 70-120 degrees. Ideal for general ambient lighting, covering larger areas with fewer fixtures.
- Spot (Narrow Beam): Typically 25-60 degrees. Best for accentuating specific features or providing focused task lighting.
Bulb Type (LED is King)
- LEDs: Highly energy-efficient, long-lasting, and available in various color temperatures (warm white to cool white). They are the standard for modern recessed lighting kitchen installations. Consider the lumens output and the beam angle when selecting LED bulbs.
Planning Your Kitchen Lighting
How to plan kitchen lighting involves a systematic approach that considers all these elements.
- Define Your Kitchen’s Function: Is it primarily for cooking, entertaining, family meals, or a combination? This will dictate the balance between ambient, task, and accent lighting.
- Sketch Your Layout: Draw a scaled floor plan of your kitchen, marking the locations of cabinets, appliances, islands, and work areas.
- Layer Your Lighting:
- Ambient: Start with a grid of pot lights for overall illumination. Use the spacing guidelines (4-6 feet for 6-inch, 3-4 feet for 4-inch).
- Task: Identify key task areas (countertops, sink, stovetop) and plan for dedicated task lighting. This could be under-cabinet lights, a pendant over the sink, or a statement fixture over an island. Pot lights can supplement these but shouldn’t be the sole source of task lighting.
- Accent: Decide if you want to highlight any features, such as artwork or decorative shelves.
- Consider Controls: Plan for dimmer switches to control brightness and switches for different lighting zones (e.g., one switch for ambient, another for task lighting).
- Consult a Professional (Optional but Recommended): For complex layouts or if you’re unsure, consulting a lighting designer or an experienced electrician can ensure optimal results.
Frequently Asked Questions (FAQ)
How far apart should pot lights be in a kitchen?
For standard 6-inch pot lights, spacing them 4-6 feet apart is a common guideline for achieving even general lighting kitchen. For smaller 4-inch lights, you might reduce the spacing to 3-4 feet. The exact spacing depends on your ceiling height, the beam spread of the lights, and the desired light output.
What is the ideal number of pot lights for a 10×10 kitchen?
For a 10×10 foot kitchen (100 sq ft), using the grid method with 5-foot spacing for 6-inch pot lights:
- Length (10 ft) / 5 ft = 2. Round up to 2 fixtures.
- Width (10 ft) / 5 ft = 2. Round up to 2 rows.
- Total: 2 fixtures/row * 2 rows = 4 pot lights.
You might opt for 5 or 6 for slightly more even coverage or if using smaller fixtures.
Can I use only pot lights in my kitchen?
While you can use only pot lights, it’s generally not recommended for optimal kitchen lighting layout. A single layer of only ambient lighting from pot lights might not provide adequate kitchen task lighting over work surfaces, potentially leading to shadows. A layered approach that includes under-cabinet lights or pendants is usually more functional and aesthetically pleasing.
How do I calculate pot lights based on ceiling height?
Higher ceilings require lights with wider beam spreads or more fixtures to ensure adequate light reaches the task surfaces. Conversely, low ceilings can feel cramped with too many large pot lights. A general rule for kitchen ceiling lights spacing is that for every foot of ceiling height above 8 feet, you might increase the spacing by about 6 inches, or use lights with a narrower beam spread to focus the light downwards.
What are the best pot lights for kitchen task lighting?
While pot lights can contribute to task lighting, dedicated fixtures like under-cabinet lights or pendants are often better. If using pot lights for task areas, choose those with a narrower beam spread (spot or narrow flood) and ensure their optimal pot light placement is such that they illuminate the work surface before your body casts a shadow. Dimmable LEDs are also crucial for adjusting brightness.
By carefully considering these guidelines and methods, you can ensure your kitchen is beautifully and functionally lit, making it a joy to cook, dine, and gather in.