
Image Source: i.ytimg.com
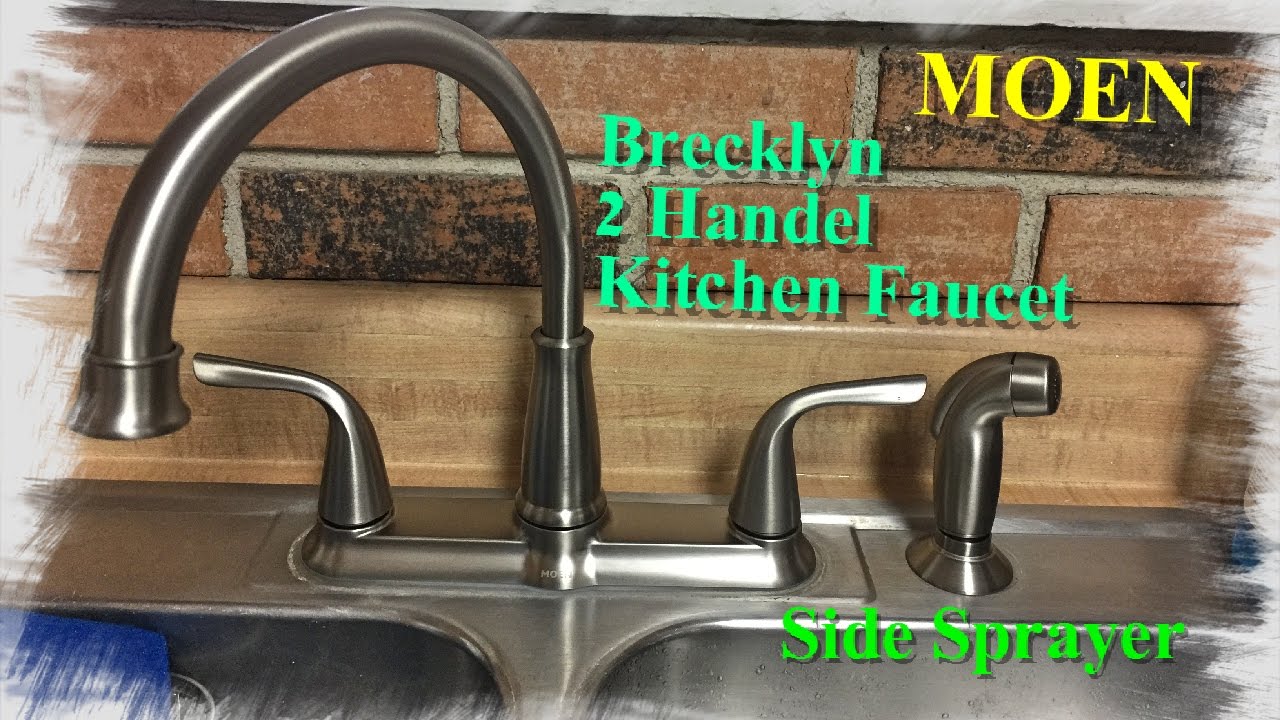
How To Install A Moen Kitchen Faucet With Sprayer: Step-by-Step
Can I install a Moen kitchen faucet with a sprayer myself? Yes, you absolutely can! Installing a Moen kitchen faucet with a sprayer is a manageable DIY project for most homeowners. This guide will walk you through each step, making the process clear and straightforward. We’ll cover everything from gathering your tools to securing the final connections, ensuring your new plumbing fixture functions perfectly. If you’ve ever faced a leaky faucet repair, you’ll find this process even more rewarding.
Preparing for Your Moen Faucet Installation
Before you begin your DIY faucet install, proper preparation is key to a smooth and successful Moen faucet installation. This section focuses on gathering the right tools, understanding the components, and ensuring a safe working environment.
Essential Tools and Materials You’ll Need
To tackle this kitchen faucet replacement, having the correct tools on hand will save you time and frustration. Here’s a list of what you should gather:
- Adjustable Wrenches (Two): You’ll need these for tightening and loosening nuts and fittings. Having two allows you to hold one part steady while turning another.
- Basin Wrench: This specialized tool is invaluable for reaching nuts in tight spaces under the sink.
- Plumber’s Putty or Silicone Sealant: Used to create a watertight seal between the faucet base and the sink.
- Bucket: To catch any residual water from the supply lines.
- Towels or Rags: For cleaning up spills and drying components.
- Safety Glasses: To protect your eyes from debris or drips.
- Flashlight or Work Light: Essential for illuminating the often-dark space under your sink.
- New Water Supply Lines: It’s highly recommended to replace old supply lines during a faucet installation. Ensure they are the correct length and have the right fittings for your water valves and new faucet.
- Thread Seal Tape (PTFE Tape): For ensuring watertight seals on threaded connections.
- Screwdriver Set: You might need a Phillips or flathead screwdriver depending on your faucet’s mounting hardware.
- Putty Knife: Helpful for removing old plumber’s putty or sealant.
- Utility Knife: For cutting packaging or any stubborn sealant.
Familiarizing Yourself with Faucet Parts
Your new Moen kitchen faucet and sprayer will come with various faucet parts. Taking a moment to identify them before you start will make the installation much easier. Typically, you’ll find:
- Faucet Body: The main part of the faucet that houses the spout and handles.
- Sprayer Head: The detachable spray nozzle.
- Sprayer Hose: The flexible hose connecting the sprayer to the faucet body.
- Mounting Hardware: Nuts, washers, and sometimes a mounting plate that secure the faucet to the sink or countertop.
- Escutcheon Plate (if applicable): A decorative plate that covers unused sink holes.
- Water Supply Lines: Sometimes included with the faucet, otherwise you’ll need to purchase them separately.
- Hose Weight: Attached to the sprayer hose to help retract it.
Ensuring a Safe Workspace
Safety first! Working under a sink can be cramped and damp.
- Turn off the Water Supply: Locate the hot and cold water shut-off valves under the sink. Turn them clockwise until they are firmly closed.
- Test the Water Shut-off: Turn on the old faucet to release any pressure and confirm that the water is indeed shut off. Let any remaining water drain out.
- Clear the Area: Remove everything from beneath the sink to give yourself plenty of room to work.
- Use a Stable Light Source: A headlamp or a good quality work light will make it much easier to see what you’re doing.
Removing the Old Kitchen Faucet
Before you can install your new Moen faucet, you need to remove the old one. This process often involves dealing with corroded parts, making patience a virtue.
Disconnecting Water Supply Lines
The first step is to disconnect the existing water supply lines from the shut-off valves.
- Place your bucket beneath the shut-off valves.
- Use an adjustable wrench to loosen the nuts connecting the supply lines to the valves.
- Expect a small amount of water to drip out.
Detaching the Faucet from the Sink
This is where a basin wrench is your best friend. The nuts holding the faucet in place are usually located in awkward spots.
- Reach under the sink with your basin wrench.
- Locate the mounting nuts that secure the faucet to the sink deck.
- Loosen and remove these nuts. If they are corroded and stuck, you might need to use a penetrating oil and allow it to soak in for a while.
- Once the nuts are off, you can often gently wiggle the old faucet from above. If it’s stuck, a putty knife can help break the seal of plumber’s putty.
Removing the Sprayer Assembly
If your old faucet has a separate side sprayer, you’ll need to disconnect its hose from the faucet body.
- Follow the sprayer hose up to where it connects to the main faucet body under the sink.
- Use an adjustable wrench to disconnect the hose from the faucet.
Cleaning the Sink Surface
With the old faucet removed, clean the sink surface where the faucet was mounted.
- Use a putty knife to scrape away any old plumber’s putty or sealant.
- Wipe the area clean with a damp cloth.
Installing the New Moen Kitchen Faucet
Now comes the exciting part: installing your new Moen kitchen faucet and sprayer. This section details the step-by-step process for mounting the faucet and connecting the sprayer.
Mounting the Faucet Body
This is a crucial step for ensuring a stable and leak-free installation.
- Apply Plumber’s Putty or Sealant: Roll a rope of plumber’s putty and place it around the underside base of the faucet or escutcheon plate, if one is included. Alternatively, you can use silicone sealant. This creates a watertight seal against the sink.
- Position the Faucet: From above the sink, carefully insert the faucet shanks through the mounting holes in the sink or countertop. Ensure the faucet is aligned correctly. If your faucet came with an escutcheon plate, install that first with the putty.
- Secure from Underneath: Go back under the sink. Slide any provided rubber and metal washers onto the faucet shanks. Then, thread the mounting nuts onto the shanks.
- Tighten the Faucet: Use your basin wrench or an adjustable wrench to tighten the mounting nuts. Be firm, but don’t overtighten, as this can damage the sink or countertop. Ensure the faucet is straight and secure before fully tightening. You might need to tighten in stages, checking alignment from above.
Connecting the Water Supply Lines
This step involves attaching the new water supply lines to the faucet and the shut-off valves.
- Prepare the Supply Lines: If your new supply lines require it, wrap the threaded ends that connect to the shut-off valves with thread seal tape. Most modern flexible supply lines have rubber gaskets that do not require tape. Check your faucet and supply line instructions.
- Connect to the Faucet: Attach the other ends of the supply lines to the corresponding hot and cold inlets on the new faucet body. Hand-tighten first, then use an adjustable wrench to snug them up, typically a quarter to half turn past hand-tight.
- Connect to the Shut-off Valves: Connect the supply lines to the appropriate hot and cold shut-off valves under the sink. Again, hand-tighten first, then use an adjustable wrench to tighten. Ensure you are connecting hot to hot and cold to cold.
Installing the Sprayer Assembly
The sprayer installation is straightforward but requires careful attention to the hose connection and weight.
- Thread the Sprayer Hose: From under the sink, thread the sprayer hose through its designated hole in the sink or countertop.
- Connect to the Faucet Body: Locate the connection point on the underside of the faucet body where the sprayer hose attaches. Screw the sprayer hose onto this fitting. Hand-tighten, then use an adjustable wrench to secure it.
- Attach the Hose Weight: Clip the hose weight onto the sprayer hose at the point indicated in your faucet’s instructions. This weight helps the sprayer head retract smoothly back into its holder. Make sure the weight allows the hose to move freely without kinking.
Connecting the Sprayer Hose to the Faucet Diverter (if applicable)
Some Moen faucets have a diverter mechanism that connects the sprayer hose to the main water flow.
- Locate the diverter assembly, which is often a metal or plastic piece that the sprayer hose screws into.
- Connect the sprayer hose to the diverter according to the manufacturer’s instructions.
- Connect the diverter to the main faucet body using the appropriate fittings and ensuring a tight seal.
Testing for Leaks and Final Adjustments
After all the connections are made, it’s time to test your work. This is a critical step to prevent future issues and potential leaky faucet repair.
Turning the Water Supply Back On
- Slowly turn the hot and cold water shut-off valves counter-clockwise to open them.
Checking All Connections
- Carefully inspect every connection point: where the supply lines connect to the faucet, where they connect to the shut-off valves, and where the sprayer hose connects to the faucet body.
- Look and feel for any signs of drips or moisture.
Testing Faucet and Sprayer Functionality
- Turn on the hot and cold water from the faucet handles.
- Let the water run for a minute or two to flush out any debris that might have entered the lines during installation.
- Test the faucet’s hot and cold mixing.
- Operate the sprayer. Check that it activates properly and that the hose retracts smoothly.
- Run water through the sprayer and check its connection for leaks.
Tightening Any Leaks
If you find any leaks:
- Turn off the water supply immediately.
- Gently tighten the leaking connection by a quarter turn.
- Turn the water back on and re-check.
- If a leak persists, you may need to disconnect the fitting, reapply thread seal tape (if applicable), and re-tighten. Ensure the rubber gaskets are seated correctly in the supply line fittings.
Frequently Asked Questions About Moen Faucet Installation
Here are some common questions that arise during a DIY faucet install of a Moen kitchen faucet.
Q1: How much plumber’s putty or silicone should I use?
A1: You only need enough to create a continuous rope around the base of the faucet or escutcheon plate. The goal is to form a watertight seal without excessive squeeze-out, which can be messy to clean. About a 1/2 inch thick rope is usually sufficient.
Q2: My old faucet is really stuck. What can I do?
A2: Corroded nuts are a common problem. You can try applying a penetrating oil (like WD-40) to the nuts and letting it sit for 15-30 minutes before trying to loosen them again. A basin wrench provides better leverage. If it’s still stuck, you might need to carefully cut the nuts off with a mini hacksaw or a rotary tool with a cutting wheel, being extremely careful not to damage the sink or countertop.
Q3: What if the new faucet holes don’t match my sink?
A3: Most modern kitchen faucets are designed to fit standard sink hole configurations (typically 1, 2, 3, or 4 holes). If your sink has more holes than your new faucet needs, use the provided escutcheon plate to cover the unused openings. If the hole spacing is unusual, you might need a specialized sink adapter plate, though this is less common with standard Moen kitchen faucets. Always check the specifications of your new faucet and your sink’s hole configuration before purchasing.
Q4: How tight should I make the water supply line connections?
A4: Hand-tighten the connections first. Then, use an adjustable wrench to tighten them an additional quarter to half turn. Overtightening can strip the threads or crack the fittings. The rubber gasket inside most modern supply lines is designed to create the seal, so significant force isn’t usually needed.
Q5: My sprayer hose feels stiff. Is that normal?
A5: New sprayer hoses can sometimes be a bit stiff. As you use the faucet and the hose flexes, it should become more pliable. Ensure the hose weight is positioned correctly to assist with retraction. If it remains very stiff and difficult to maneuver after use, double-check that it isn’t kinked anywhere under the sink.
Q6: What is the purpose of the hose weight on the sprayer?
A6: The hose weight is a simple but effective component. It sits on the sprayer hose and provides the necessary gravity to pull the sprayer head back into its holder when you let go of it. Proper placement of the weight ensures smooth operation of the sprayer.
Q7: Can I replace just the sprayer if it’s leaking?
A7: In many cases, yes. If your sprayer head or hose is the source of a leak, you can often purchase a replacement sprayer assembly for your specific Moen faucet model. Check the Moen website or contact their customer support for available parts. This can be a simpler solution than a full kitchen faucet replacement.
Maintaining Your New Moen Kitchen Faucet
Once your new Moen faucet is installed, a little regular maintenance will keep it looking and working great for years to come.
Regular Cleaning
- Wipe down your faucet regularly with a soft, damp cloth to prevent water spots and mineral buildup.
- For tougher spots, use a mild dish soap and water. Avoid abrasive cleaners or scouring pads, which can scratch the finish.
Checking for Leaks Periodically
- Even with a new installation, it’s good practice to periodically check all connections under the sink for any signs of moisture. This proactive approach can help catch small issues before they become bigger problems.
Sprayer Nozzle Maintenance
- Many Moen faucets feature easy-clean nozzles that resist mineral buildup. If you notice reduced water flow or sputtering from the sprayer, gently rub the rubber nozzles with your finger to break away any deposits.
By following these detailed steps and tips, your Moen faucet installation will be a successful and rewarding project. Enjoy your new, functional kitchen faucet!