
Can you adjust kitchen cabinet drawers? Yes, you absolutely can adjust kitchen cabinet drawers. Most kitchen drawers can be adjusted, often with just a screwdriver. This guide will help you fix common drawer issues like sagging, sticking, or drawers not closing properly. We’ll cover everything from minor adjustments to more involved cabinet drawer repair.
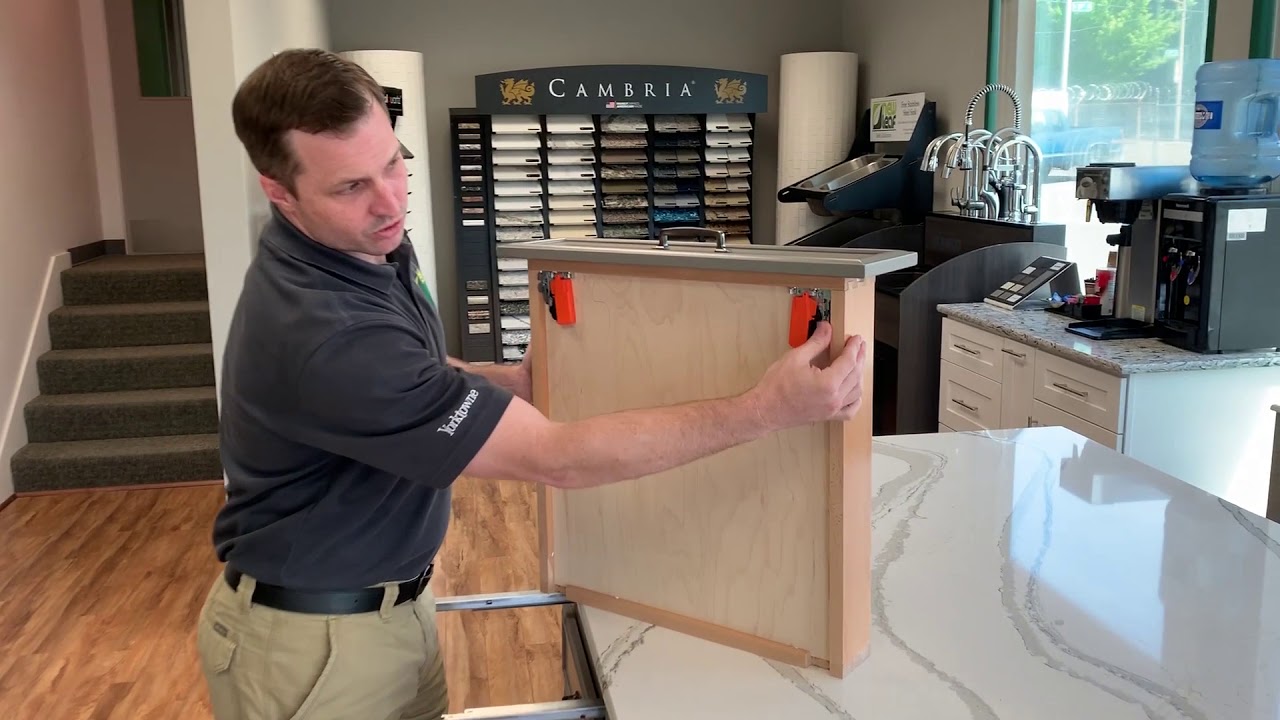
Image Source: i.ytimg.com
Why Drawer Adjustments Matter
Loose or misaligned kitchen drawers can be more than just an annoyance; they can affect the overall functionality and appearance of your kitchen. A drawer that won’t close properly can snag on adjacent cabinets, making daily use frustrating. A sticky drawer can be difficult to open, and a sagging drawer can look unsightly. Fortunately, many of these problems can be resolved with simple drawer slide adjustment. Whether you have euro slide adjustment needs, are dealing with undermount drawer slide adjustment, or simply want to ensure your self-closing drawer adjustment is perfect, this guide is for you. We’ll also touch upon drawer squeak removal.
Identifying Common Drawer Problems
Before you can fix a drawer, you need to know what’s wrong. Here are some common issues you might encounter:
- Sagging Drawer Front: The front of the drawer appears to hang lower than the adjacent cabinets. This can make it look untidy and might cause it to rub against the countertop or cabinet frame.
- Drawer Won’t Close Properly: The drawer sticks when you try to push it shut, or it doesn’t fully seat into the cabinet. This is a very common issue requiring drawer runner alignment.
- Sticky Drawer: The drawer is hard to pull open or push shut, often requiring significant force. This could be due to debris, bent slides, or misaligned runners. This is a classic sticky drawer fix scenario.
- Drawer Squeaks: An annoying squeaking sound occurs every time you open or close the drawer. This often points to a need for drawer squeak removal.
- Drawer Drifts Open: A self-closing drawer doesn’t stay closed or slowly drifts open on its own. This indicates a problem with the self-closing mechanism or its adjustment.
- Uneven Drawer: The drawer doesn’t sit flush with other drawers or cabinets, appearing too high or too low. This is a kitchen drawer leveling issue.
Essential Tools for Drawer Adjustments
Gathering the right tools before you start makes the process much smoother. Most drawer adjustments require basic household tools:
- Phillips Head Screwdriver: The most common type used for drawer slides.
- Flathead Screwdriver: Useful for prying or adjusting certain types of slides.
- Pliers: Can help grip small parts or straighten bent metal.
- Measuring Tape: For checking alignment and gaps.
- Level: Crucial for kitchen drawer leveling.
- Safety Glasses: Always wear safety glasses when working with tools.
- Small Rag or Paper Towels: For cleaning.
- Lubricant (Silicone Spray or Wax): For addressing sticky drawers and drawer squeak removal.
Types of Drawer Slides and Their Adjustments
Kitchen drawers use different types of slides. Knowing which type you have is key to performing the correct drawer slide adjustment.
1. Metal Drawer Slides (Side-Mounted)
These are common in older cabinets and can be found on the sides of the drawer box. They are usually made of metal and have ball bearings or nylon rollers.
- Adjustment Points: Often have small screws on the mounting brackets that allow for slight up/down or in/out adjustments. Some slides have elongated screw holes that permit movement.
2. European-Style Slides (Euro Slides)
These are very popular due to their sleek design and smooth operation. They mount to the underside of the drawer or the sides of the cabinet frame.
- Adjustment Points: Typically feature adjustable tabs or screws that control the drawer’s position. You might find front-to-back, up-and-down, and left-to-right adjustment screws. This is where euro slide adjustment becomes crucial.
3. Undermount Drawer Slides
These slides are hidden beneath the drawer box, offering a clean, frameless look. They are common in modern kitchens.
- Adjustment Points: Usually have adjustment screws located on the front or rear of the slide mechanism, often accessible from inside the cabinet or under the drawer. This is key for undermount drawer slide adjustment.
4. Epoxy-Coated Slides
These are often found in less expensive cabinetry. They are typically single-wall slides with an epoxy coating.
- Adjustment Points: Less adjustable than other types. Minor adjustments might be possible by slightly loosening and repositioning screws, but significant issues might require replacement.
Step-by-Step Guide to Adjusting Kitchen Cabinet Drawers
Let’s get down to fixing those drawers. The goal is to achieve smooth operation and proper alignment.
Step 1: Remove the Drawer
To perform most adjustments, you’ll need to remove the drawer from its cabinet.
- For Ball-Bearing or Roller Slides: Extend the drawer fully. Look for a release lever or tab on the slide mechanism (usually at the front of the slide on the drawer side). Press or lift this lever to disengage the drawer from the cabinet-mounted slide. Gently pull the drawer out.
- For Euro Slides or Undermount Slides: These often have specific release mechanisms. Some have a small plastic clip or lever to push. Others might require you to lift the drawer slightly at the front while pulling. Consult your cabinet manufacturer’s instructions if unsure.
Step 2: Inspect the Drawer Slides and Runners
Once the drawer is out, examine the slides on both the drawer and inside the cabinet.
- Look for Obstructions: Check for any debris, food particles, or foreign objects that might be impeding movement. Clean them away with a rag.
- Check for Damage: Are the slides bent, warped, or broken? Are any rollers or ball bearings missing or damaged? Damaged slides may need to be replaced as part of cabinet drawer repair.
- Examine Screw Tightness: Ensure all screws holding the slides to the drawer and cabinet are tight. Loose screws are a common cause of sagging or misalignment.
- Check for Wear: Are the slides excessively worn? This can lead to a sticky drawer or poor performance.
Step 3: Performing Drawer Slide Adjustment
This is where you’ll tackle the specific issues.
H3: Adjusting for Sagging Drawers and Kitchen Drawer Leveling
A sagging drawer front is often due to the drawer not being level within the cabinet.
- Locate Adjustment Screws: On most metal, euro, and undermount slides, there are screws that control the drawer’s height and tilt. These might be on the front, back, or side of the slide.
- Turn Screws Incrementally:
- To Lift the Front: If the drawer front is sagging, you typically need to tighten the adjustment screw at the rear of the slide, or loosen the screw at the front. This lifts the drawer from the back.
- To Lower the Front: If the front is too high, tighten the front screw or loosen the rear screw.
- For Tilting: Some slides have separate screws for tilting the drawer. Adjust these to make the drawer front sit parallel to the cabinet face.
- Test and Repeat: Reinsert the drawer and check its alignment. Make small adjustments, test, and repeat until the drawer sits level and flush with adjacent drawers. This is a key part of kitchen drawer leveling.
H3: Fixing a Drawer Won’t Close Properly or is Sticky
This usually involves ensuring the drawer runners are perfectly aligned.
- Check Runner Alignment:
- Side-to-Side: Ensure the drawer is centered within the opening. If it rubs against one side, loosen the screws holding the cabinet-side slide. Gently shift the slide inward or outward until the drawer moves freely. Retighten the screws. This is crucial for drawer runner alignment.
- In-and-Out: If the drawer is too far in or out, locate adjustment screws that control this depth. Turning these screws will move the entire slide forward or backward.
- Lubricate for a Sticky Drawer Fix: If the slides are clean and aligned but the drawer is still sticky, lubrication is often the answer.
- Apply a silicone-based spray lubricant or a wax-based lubricant to the slide mechanisms, rollers, or ball bearings.
- Avoid using oil-based lubricants, as they can attract dust and make the problem worse over time.
- Work the drawer in and out several times to distribute the lubricant. This is a simple yet effective sticky drawer fix.
- Ensure Smooth Operation: For self-closing drawer adjustment, the slides need to be clean, lubricated, and properly aligned. If a self-closing drawer isn’t engaging properly, ensure the slides are fully extended and the release mechanisms are clear.
H3: Drawer Squeak Removal
Annoying squeaks are usually caused by friction.
- Clean the Slides: First, clean any dust or debris from the drawer slides.
- Lubricate: Apply a small amount of silicone spray or wax lubricant to the moving parts of the slides, including rollers and ball bearings.
- Work the Drawer: Open and close the drawer several times to spread the lubricant. This should eliminate most instances of drawer squeak removal.
H3: Addressing Self-Closing Drawer Adjustment Issues
If your self-closing drawer isn’t closing fully or is slamming shut, the adjustment is key.
- Check for Obstructions: Ensure nothing is blocking the drawer’s path.
- Slide Alignment: Misalignment can prevent the self-closing mechanism from engaging correctly. Follow the alignment steps above.
- Mechanism Tension: Some self-closing slides have adjustable tension. Look for small screws or clips on the slide that might control the speed or force of closing. Refer to your slide’s manual if available. Tiny adjustments can make a big difference in self-closing drawer adjustment.
Adjusting Specific Drawer Slide Types in Detail
Let’s delve deeper into some common slide types.
H4: Euro Slide Adjustment Techniques
Euro slides are known for their adjustability.
- Common Adjustments:
- Height: Usually controlled by screws on the mounting bracket that attach to the cabinet side. Loosen slightly, adjust height, retighten.
- Depth (Front-to-Back): Look for screws on the drawer-side runner or the cabinet-side runner that allow forward/backward movement.
- Left-to-Right: Some slides have slotted holes for minor side-to-side adjustments.
- Procedure:
- With the drawer removed, locate the adjustment screws on the cabinet-mounted slides.
- For up/down adjustments, you’ll often see screws with a wide range of motion in slotted holes. Loosen these, adjust the height, and retighten.
- For front-to-back, you might need to loosen screws on the drawer-side slide.
- Make small turns of the screws and reinsert the drawer to test. Repeat as needed for precise euro slide adjustment.
H4: Undermount Drawer Slide Adjustment Tips
Undermount slides offer a concealed appearance and require careful adjustment.
- Accessing Adjustment Screws: These are usually located on the front face of the slide, accessible from inside the cabinet opening or from under the drawer.
- Common Adjustments:
- Height & Depth: Most undermount slides have small screws or clips that allow for height and depth adjustments.
- Tilt: Some have a dial or screw to correct the drawer’s tilt.
- Procedure:
- With the drawer removed, examine the slide mechanism attached to the cabinet.
- Locate the adjustment screws. They are typically small and designed for fine-tuning.
- Turn the screws to adjust the position of the drawer. Often, turning one screw will move the drawer up or down, while another moves it in or out.
- Reinsert the drawer to check the fit. Precise undermount drawer slide adjustment can be a bit fiddly, so take your time.
H4: Drawer Runner Alignment for Metal Slides
Metal slides, especially older ones, might need a bit of coaxing.
- Checking for Squareness: Ensure the drawer box itself is square. A warped drawer box will never run smoothly.
- Runner Straightness: If the metal runners are bent, you might be able to gently straighten them with pliers. Be careful not to overdo it, as they can break.
- Screw Hole Adjustments: Many metal slides use screws in slightly oversized holes. Loosening these screws allows you to shift the slide slightly left/right or up/down. This is key for proper drawer runner alignment.
- Lubrication: For these older slides, a bit of wax or silicone spray can work wonders for a sticky drawer fix.
Troubleshooting Common Drawer Problems
Here’s a quick reference for solving specific issues:
| Problem | Likely Cause | Solution |
|---|---|---|
| Drawer Sagging | Loose screws, worn slides, drawer not level | Tighten screws, adjust height via slide screws, check drawer box for squareness. |
| Drawer Won’t Close Properly | Misalignment, debris, bent slides | Check drawer runner alignment, clean slides, lubricate, gently straighten bent runners, ensure slide is fully engaged. |
| Sticky Drawer | Debris, lack of lubrication, bent slide | Clean slides, lubricate with silicone spray, check for obstructions, gently straighten bent runners. |
| Drawer Squeaks | Friction between moving parts | Clean slides thoroughly, apply silicone spray or wax lubricant to rollers and tracks. |
| Drawer Drifts Open | Weak self-closing mechanism, misalignment | Ensure slides are clean and aligned, check for any tension adjustments on self-closing slides. |
| Drawer Won’t Open Smoothly | Debris, lack of lubrication, worn slides | Clean and lubricate, check for obstructions, ensure slide mechanism is fully extended before release. |
| Drawer Face Misaligned (Tilt) | Uneven adjustment screws | Adjust height screws on the slides to bring the drawer front into a level position. |
When to Consider Replacing Drawer Slides
While adjustments can fix many problems, sometimes the slides are too worn or damaged to be salvaged. Consider replacing the slides if:
- The slides are significantly bent or warped and cannot be straightened.
- Ball bearings or rollers are missing or broken.
- The metal or coating on the slides is severely worn, causing continuous sticking or grinding.
- You’ve tried all possible adjustments and the drawer still doesn’t function correctly.
Replacing drawer slides is a relatively straightforward DIY project, and new slides can dramatically improve the performance of your kitchen drawers.
Frequently Asked Questions (FAQ)
Q1: How often should I lubricate my kitchen drawers?
It’s a good idea to lubricate your drawer slides annually, or whenever you notice them becoming stiff or noisy. This helps prevent wear and tear and keeps them running smoothly.
Q2: Can I fix a drawer that has completely fallen off its slides?
Yes, usually. First, inspect the slides on both the drawer and the cabinet for damage. Then, carefully re-engage the drawer with the cabinet slides. If the slides are damaged, you may need to repair or replace them.
Q3: What’s the best lubricant for kitchen drawers?
Silicone-based spray lubricants are generally the best choice. They provide smooth operation without attracting excessive dust, which can happen with oil-based lubricants. Wax-based lubricants can also be effective.
Q4: My new drawers are sticking. What should I do?
New drawers can sometimes stick due to manufacturing imperfections or installation issues. Ensure the drawer is square and the slides are installed level and parallel. A bit of lubricant might also help. If the problem persists, check the drawer runner alignment carefully or consult the cabinet manufacturer.
Q5: Is it hard to replace kitchen drawer slides?
Replacing drawer slides is generally a manageable DIY task. You’ll need to carefully remove the old slides, making note of their exact position, and then install the new ones according to the manufacturer’s instructions. Taking your time and using a tape measure and level are essential.
By following these steps, you can keep your kitchen drawers running smoothly and efficiently, enhancing your kitchen’s overall usability and aesthetic appeal. Happy adjusting!