
Sure, here is an in-depth blog post about refinishing kitchen cabinets without sanding.
Can you refinish kitchen cabinets without sanding? Yes, you absolutely can! Refinishing kitchen cabinets without sanding is a popular and effective way to give your kitchen a fresh look without the dust and effort of traditional sanding. This guide will walk you through the best methods and pro tips for achieving a beautiful, durable finish.
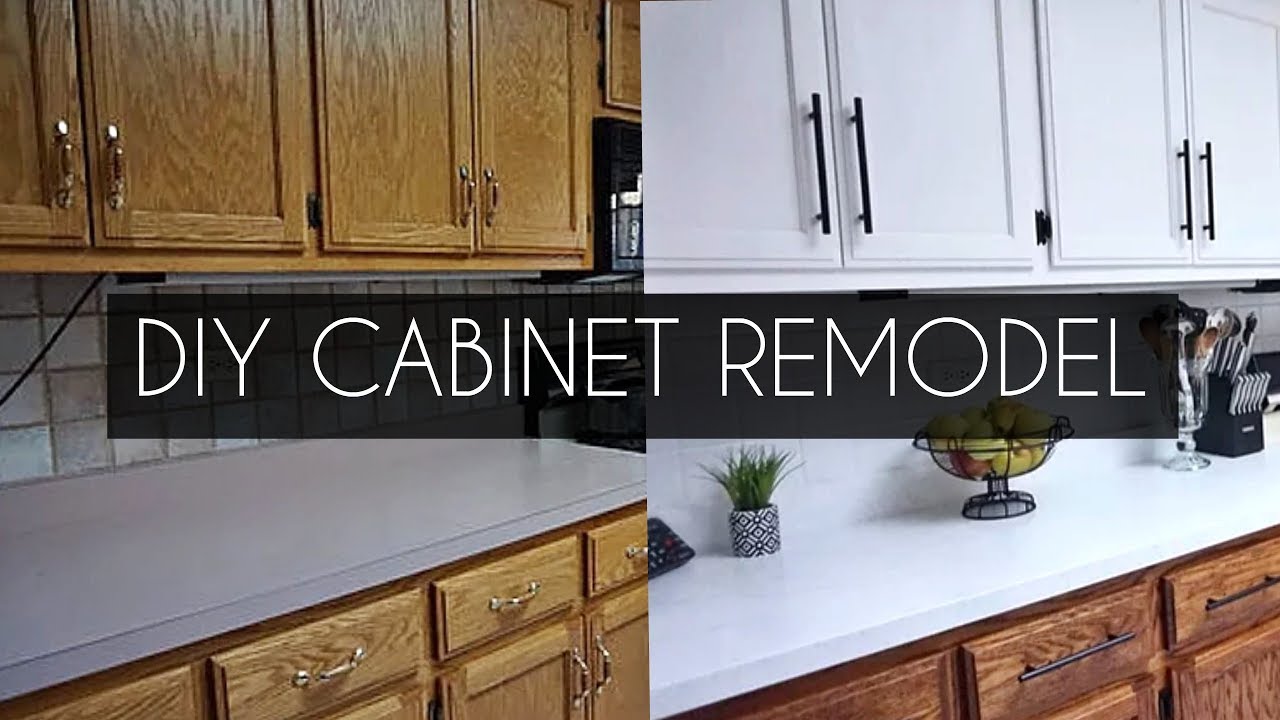
Image Source: i.ytimg.com
Why Skip the Sanding?
Sanding cabinets can be a time-consuming and messy job. It creates a lot of dust, which can get everywhere and requires significant cleanup. For many DIYers, this is the most dreaded part of cabinet refinishing. Fortunately, modern products and techniques allow for excellent results without the need for aggressive sanding. This approach to cabinet painting without sanding is ideal for those seeking a quicker, cleaner, and less physically demanding renovation.
Is No-Sand Cabinet Refinishing For Everyone?
While skipping sanding is appealing, it’s important to know when it’s the right choice. If your cabinets have deep gouges, peeling veneer, or significant structural damage, sanding might still be necessary for proper adhesion and a smooth finish. However, for cabinets with a good underlying surface, no-sand cabinet refinishing is a fantastic option. It’s perfect for updating the look of existing cabinets that are in generally good condition.
Preparing Your Kitchen Cabinets: The Crucial First Step
Even when you’re not sanding, thorough preparation is key to a successful cabinet refinishing project. This is where the magic happens for cleaning kitchen cabinets before painting. Without proper prep, even the best paints won’t adhere well and your finish might peel or chip.
Deep Cleaning for Optimal Adhesion
The goal here is to remove all grease, grime, wax, and any other residues that could prevent your new finish from sticking.
Essential Cleaning Supplies:
- Degreaser: A heavy-duty degreaser is your best friend. Products specifically designed for kitchen grease or an ammonia-based cleaner work well.
- Microfiber cloths: These are great for scrubbing and wiping without leaving lint.
- Clean water: For rinsing.
- Gloves: To protect your hands.
- Safety glasses: To protect your eyes from cleaning solutions.
The Cleaning Process:
- Remove Cabinet Doors and Drawers: Take everything off the cabinet frames. This allows you to access all surfaces easily and ensures a more even finish. Label each door and drawer with a number or letter so you know exactly where it goes back.
- Wipe Down All Surfaces: Start by wiping down all cabinet doors, drawer fronts, and frames with a damp cloth to remove loose dust.
- Apply Degreaser: Mix your degreaser according to the product’s instructions. Work in small sections. Apply the degreaser liberally to the cabinets.
- Scrub Gently: Use a microfiber cloth or a soft-bristle brush to gently scrub away grease and grime. Pay extra attention to areas around the knobs or handles, as these tend to accumulate the most oil and dirt.
- Rinse Thoroughly: This is a critical step. Wipe down all surfaces with a clean cloth dampened with plain water to remove any degreaser residue. Residue can also prevent paint adhesion. You might need to rinse and wring out your cloth several times.
- Dry Completely: Allow cabinets to air dry thoroughly, or wipe them down with a clean, dry microfiber cloth. Moisture left on the cabinets can also interfere with paint adhesion.
Light Scuff Sanding (Optional but Recommended)
While the goal is to avoid heavy sanding, a very light scuff sand can significantly improve adhesion, even for paint kitchen cabinets no sand projects. This isn’t about removing the old finish; it’s about creating a slightly rougher surface for the primer and paint to grip.
Tools for Light Scuffing:
- Fine-grit sandpaper (220-grit or higher): You can also use fine-grit sanding sponges or a sanding block.
- Tack cloth: For removing dust after sanding.
The Scuff Sanding Process:
- Work in Sections: Lightly sand each surface in the direction of the wood grain.
- Keep it Light: The aim is to create a dull, matte finish, not to remove the existing paint or stain. You’re just taking off the sheen.
- Wipe Away Dust: Use a tack cloth to pick up all sanding dust. This is essential for a smooth paint finish.
Choosing the Right Products for No-Sand Refinishing
The products you choose are paramount when you’re not sanding. You need paints and primers specifically designed to adhere to existing finishes without extensive prep.
The Power of Primer
A good primer for cabinets no sanding is non-negotiable. It acts as a bonding agent, ensuring that your new paint adheres strongly to the existing surface. Primers also help to block stains and provide a uniform base color for your topcoat.
Recommended Primer Types:
- Adhesion Primers: These are specifically formulated to stick to glossy or difficult surfaces. Look for labels like “bonds to glossy surfaces” or “adheres to laminate and tile.”
- Shellac-Based Primers: These offer excellent adhesion to almost any surface, including oil-based finishes, and also block stains effectively. They dry very quickly.
- Water-Based Alkyd Primers: These offer good adhesion and durability, often bridging the gap between traditional oil-based and modern latex paints.
Key Primer Features to Look For:
- High Adhesion: This is the most important feature for a no-sand project.
- Stain Blocking: Especially important if your old cabinets have dark wood or any marks you want to cover.
- Fast Drying Time: Helps speed up the project.
- Low VOCs (Volatile Organic Compounds): For better air quality during application.
Selecting Your Paint
The type of paint you choose will determine the durability and finish of your cabinets. For cabinet resurfacing no sanding, durability is key.
Top Paint Options for Cabinets:
- Cabinet Paints: These are specifically formulated for cabinets, offering a hard, durable finish that can withstand daily wear and tear. Many are water-based acrylic or urethane-acrylic blends.
- Chalk Paint: Chalk paint kitchen cabinets are a popular choice for a matte, vintage look. It adheres well to many surfaces with minimal prep, often just cleaning. However, chalk paint typically requires a topcoat (like wax or polycrylic) for durability, especially in a kitchen environment.
- Milk Paint: Similar to chalk paint, milk paint can offer a beautiful, often chippy, finish. It also adheres well with prep and requires a protective topcoat.
- Cabinet Enamels: These are durable paints that provide a hard, washable finish. Many are water-based acrylic enamels with excellent adhesion.
What to Consider When Choosing Paint:
- Durability: Kitchen cabinets get a lot of use. Choose a paint that is known for its toughness and resistance to scratches and moisture.
- Finish: Satin, semi-gloss, and gloss finishes are generally more durable and easier to clean than matte finishes.
- Application Method: Some paints are better suited for brushing, others for rolling, and some are ideal for spraying.
- Sheen: A satin or semi-gloss finish is often recommended for kitchen cabinets as they are more resistant to grease and moisture and are easier to wipe clean.
Application Techniques: Brush, Roll, or Spray?
How you apply the paint can greatly impact the final look and feel of your cabinets.
Brush Painting Cabinets No Sanding
This is the most accessible method for many DIYers.
Pros:
- Accessible: Requires minimal equipment.
- Control: Good for precise application and detail work.
Cons:
- Brush Marks: Can be prone to visible brush strokes if not applied carefully.
- Time-Consuming: Can take longer for a smooth finish.
Pro Tips for Brush Application:
- Use High-Quality Brushes: Invest in good quality synthetic brushes for a smoother finish. Angled brushes are great for corners and edges.
- Apply Thin Coats: Multiple thin coats are always better than one thick coat. This helps prevent drips and provides a smoother finish.
- Brush in the Direction of the Grain: Always brush with the natural direction of the wood grain.
- “Lay Off” Your Strokes: After brushing, lightly sweep over the painted area with an almost dry brush in one direction. This helps to blend the strokes and reduce their visibility.
Spray Painting Cabinets No Sanding
This method can yield the most professional, factory-like finish.
Pros:
- Smooth Finish: Eliminates brush marks for a flawless look.
- Even Coverage: Provides a consistent layer of paint.
- Fast: Can cover large areas quickly.
Cons:
- Requires Equipment: You’ll need a sprayer, and potentially a mask and ventilation setup.
- Overspray: Requires careful masking of surrounding areas.
- Steeper Learning Curve: Practicing with a sprayer is recommended.
Pro Tips for Spray Application:
- Use a Sprayer Designed for Cabinets: HVLP (High Volume Low Pressure) sprayers are ideal for cabinets as they offer more control and less overspray.
- Dilute Paint Correctly: Follow the paint manufacturer’s recommendations for thinning paint for spraying. Incorrect thinning can lead to clogging or poor atomization.
- Practice: Before spraying your cabinets, practice on cardboard or scrap wood to get a feel for the spray pattern and distance.
- Maintain a Consistent Distance: Hold the sprayer about 10-12 inches away from the surface and move it at a steady pace.
- Overlap Passes: Overlap each spray pass by about 50% to ensure even coverage and avoid holidays (missed spots).
- Work in a Well-Ventilated Area: Ensure good airflow and wear a respirator.
- Mask Thoroughly: Cover everything you don’t want painted with painter’s tape and plastic sheeting.
Roller Application (for Flat Surfaces)
While not ideal for detailed areas, a high-quality small foam roller can be used for flat surfaces like drawer fronts or the interior of cabinet boxes.
Pros:
- Faster than Brushing: Covers larger areas more quickly.
- Smoother than Some Brushing: Can provide a smoother finish than a brush if done correctly.
Cons:
- Roller Marks: Can still leave subtle roller texture.
- Not for Details: Not suitable for intricate areas or edges.
Pro Tips for Roller Application:
- Use a High-Density Foam Roller: These are designed for smooth finishes.
- Apply Thin, Even Coats: Just like with brushing.
- Roll in One Direction: Avoid back-and-forth scrubbing.
The Step-by-Step No-Sand Refinishing Process
Here’s a breakdown of how to achieve a beautiful finish without sanding.
Step 1: Preparation is Paramount (Recap)
- Remove doors, drawers, and hardware.
- Clean cabinets thoroughly with a degreaser.
- Rinse and dry completely.
- (Optional but recommended) Lightly scuff sand with 220+ grit sandpaper and wipe with a tack cloth.
Step 2: Apply the Primer
- Choose your primer wisely (shellac-based or high-adhesion water-based are excellent choices).
- Apply a thin, even coat using your chosen method (brush, spray, or roller for flat areas).
- Allow primer to dry completely according to the manufacturer’s instructions. Some primers require light sanding with very fine grit (320+) after drying to ensure smoothness, but this is much less intensive than full sanding. If your primer specifically states it doesn’t need sanding after, you can skip this.
- Apply a second coat if needed, especially if you’re covering a dark color or have persistent stains.
Step 3: Apply the Paint (Multiple Thin Coats)
- Use your chosen paint (cabinet enamel, chalk paint with topcoat, etc.).
- Apply the first thin coat. Ensure even coverage.
- Allow adequate drying time between coats. This is crucial for durability. Check the paint can for recoat times; they can range from 2-4 hours for water-based to longer for oil-based.
- Apply subsequent thin coats until you achieve the desired coverage and color depth. For most projects, two to three thin coats of paint are sufficient.
- For chalk paint, apply your protective topcoat (wax or polycrylic) after the paint has fully cured. Follow the product’s instructions for application and drying.
Step 4: Reassemble and Reinstall
- Once the final coat of paint and any topcoat have fully dried and cured (curing takes longer than drying – check product labels, often several days to a week or more), reattach the hardware.
- Rehang the cabinet doors and reinsert the drawers.
Cabinet Restoration Without Sanding: Specific Product Examples
When thinking about cabinet restoration no sanding, specific products stand out.
For a Smooth, Durable Finish:
- Primer: Zinsser B-I-N Shellac-Based Primer or Kilz Adhesion Primer.
- Paint: Benjamin Moore Advance Interior Paint, Sherwin-Williams Emerald Urethane Trim Enamel, or Behr Premium Plus Interior Eggshell/Satin Enamel. These are often considered top-tier for cabinet finishes.
For a Chalk Paint Finish:
- Paint: Annie Sloan Chalk Paint, Fusion Mineral Paint, or DIY chalk paint recipes.
- Topcoat: Annie Sloan Soft Wax, General Finishes High Performance Polyurethane (water-based, satin or flat), or Minwax Polycrylic Protective Finish.
Advanced Tips for a Flawless Finish
- Work in Good Lighting: This helps you spot drips or missed spots as you work.
- Temperature and Humidity: Avoid painting in extreme temperatures or high humidity, as this can affect drying and curing times, and potentially the finish.
- Proper Ventilation: Always ensure good ventilation, especially when using sprayers or solvent-based products.
- Patience: Rushing the drying times between coats is the most common mistake. Let each coat dry and cure properly.
- Hardware: Consider updating your cabinet hardware for a complete refresh.
Can You Paint Over Laminate Cabinets Without Sanding?
Yes, you can paint over laminate cabinets without sanding. The key is using an excellent adhesion primer designed for slick surfaces like laminate. Follow the rigorous cleaning steps, use a high-quality adhesion primer, and then apply your chosen cabinet paint. Multiple thin coats are essential for a durable finish on laminate.
Frequently Asked Questions (FAQ)
Q1: How long does it take to refinish cabinets without sanding?
A1: The time varies depending on the size of your kitchen, the number of coats, and drying times. However, a no-sand refinish can often be completed in a long weekend or a week, compared to potentially longer for a sanded finish.
Q2: What is the most durable paint for kitchen cabinets?
A2: High-quality acrylic or urethane-acrylic enamels designed specifically for cabinets are generally the most durable. These paints offer excellent adhesion, scratch resistance, and moisture resistance.
Q3: Do I really need to use a primer?
A3: Yes, especially when not sanding. A primer acts as a bonding agent and ensures your new paint adheres well to the existing surface, preventing peeling and chipping.
Q4: Can I use regular latex paint on kitchen cabinets without sanding?
A4: While you can, it’s not ideal for durability. Regular latex paint may not adhere as well or withstand the wear and tear of a kitchen. Cabinet-specific paints or high-quality enamels are recommended.
Q5: How do I get a smooth finish if I’m not sanding?
A5: Use high-quality brushes or a sprayer. Apply multiple thin coats, allowing proper drying time between each. For brushed finishes, “lay off” your strokes with an almost dry brush. For sprayed finishes, maintain a consistent distance and overlap your passes.
Q6: Will chalk paint hold up on kitchen cabinets?
A6: Chalk paint can work, but it requires a very durable topcoat (like multiple layers of polycrylic or a quality wax) to protect it from moisture and wear in a kitchen environment. Without adequate protection, it can be prone to scuffing and water damage.
Q7: How do I clean kitchen cabinets before painting without sanding?
A7: Thoroughly degrease them using a dedicated kitchen degreaser or an ammonia-based cleaner. Rinse with clean water to remove residue and allow to dry completely.
By following these steps and using the right products, you can achieve beautiful, durable, and professionally finished kitchen cabinets without the hassle of traditional sanding. Enjoy your refreshed kitchen!