
The ideal kitchen island overhang depth varies depending on its intended use, but generally, you’ll want at least 10-12 inches for comfortable seating. This allows enough legroom for people to sit and eat or work without feeling cramped.
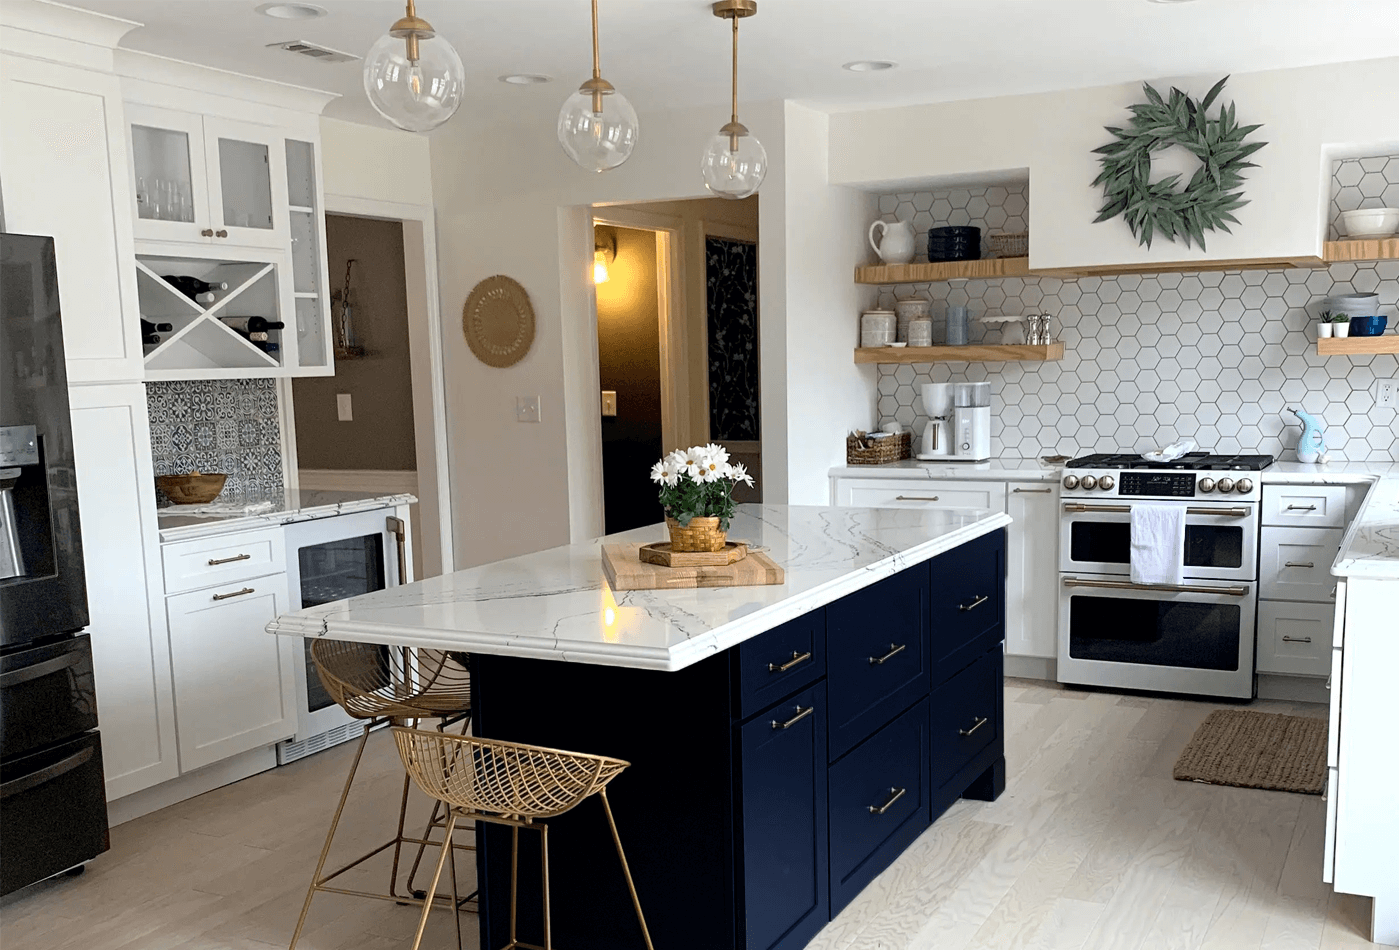
Image Source: dropinblog.net
Defining Your Island’s Purpose: Seating vs. Workspace
The primary question to ask yourself when determining the right overhang for your kitchen island is: “What will I primarily use this island for?” The answer to this question will dictate the kitchen island overhang depth and subsequent design considerations.
For Casual Seating and Dining: The Comfort Zone
If your vision for the island includes providing a place for family to gather for breakfast, homework, or casual meals, then the seating overhang kitchen island is paramount. This isn’t just about aesthetics; it’s about functionality and comfort.
- Legroom is Key: The most crucial factor here is providing adequate legroom. When people sit at an island, their knees and shins need space to tuck underneath the counter.
- Comfortable Dining: For dining, you want people to be able to sit with their plates in front of them without their knees bumping against the island base. This is where a generous overhang for dining on kitchen island really shines.
- Determining Seat Depth: Consider the typical seating position. Most people need about 12 inches of clear space from the edge of the counter to the edge of the seating area to sit comfortably.
For Workspace and Prep: Stability and Accessibility
If your island is more of a central hub for food preparation, a large overhang might not be necessary and could even be detrimental.
- Workspace Clarity: A smaller overhang can keep the workspace clear, preventing items from being bumped off.
- Accessibility for Cooks: A flush or minimal overhang can make it easier for cooks to get close to the island for prep work.
- Appliance Integration: If you plan to integrate appliances like a stovetop or sink, the overhang needs to accommodate these features without compromising structural integrity or usability.
Kitchen Island Overhang Guidelines: Essential Dimensions
Navigating the world of counter overhang dimensions requires a clear understanding of recommended practices. These aren’t rigid rules, but rather guidelines developed through experience to ensure both function and safety.
Seating Overhangs: The Golden Rules
When planning for overhang on kitchen island for stools, there are specific recommendations to ensure comfort and proper seating capacity kitchen island.
Minimum Overhang for Seating: The Bare Minimum
- 10-12 inches: This is the generally accepted minimum kitchen island overhang depth for comfortable seating. It allows enough space for adults to sit without their knees hitting the island cabinet.
- Consider Stool Depth: Remember to factor in the depth of your stools. Some stools have a wider base or a backrest that extends further.
Ideal Overhang for Dining: Unrestricted Comfort
- 12-15 inches: For a more relaxed dining experience, or if you anticipate people spending longer periods seated at the island, 12 to 15 inches of overhang is ideal. This provides ample legroom and allows for comfortable elbow placement.
- Generous Space: This depth accommodates deeper plates and allows for a more natural dining posture.
Bar Overhang Width: Extended Socializing
- 15 inches or more: If you’re aiming for a bar-like experience where people can comfortably gather and socialize, a bar overhang of 15 inches or more is recommended. This allows for a more upright seating position, similar to a bar stool.
- Two-Tiered Islands: This is also where two-tiered islands come into play, offering a separate dining or bar area with a deeper overhang.
Workspace and General Overhangs: Practicality First
When seating isn’t the primary concern, countertop overhang dimensions can be more conservative.
- Flush or Minimal Overhang (0-6 inches): This is common for islands primarily used for prep work or those incorporating a flush stovetop. A minimal overhang provides a clean look and prevents accidental bumps.
- Appliance Accommodation: If you’re installing a sink or cooktop, the overhang needs to be carefully calculated to allow for the appliance’s installation and use without obstruction.
Material Matters: How Your Countertop Affects Overhang
The type of countertop material you choose can significantly influence the maximum allowable overhang without requiring additional support.
Granite and Quartz: Strength and Stability
- Excellent Support: Granite and quartz are exceptionally strong and dense materials. They can typically support a longer overhang without the need for extra bracing, often up to 12-15 inches for a standard 3cm thick slab.
- Professional Installation: Always consult with your fabricator regarding their specific recommendations for overhangs with these materials, as thickness and quality can vary.
Marble: Elegance with Caution
- Softer and Porous: Marble is beautiful but softer and more porous than granite or quartz. It is also more prone to chipping and scratching.
- Limited Overhangs: For marble, it’s generally advisable to stick to shorter overhangs, typically 6-10 inches, to prevent cracking or breakage, especially for seating overhang kitchen island applications.
- Support is Crucial: If a larger overhang is desired with marble, robust countertop overhang support becomes essential.
Solid Surface: Versatility and Seamlessness
- Good Strength: Solid surface materials (like Corian) offer good strength and can accommodate moderate overhangs, usually up to 10-12 inches, depending on the specific product and thickness.
- Seamless Joints: Their ability to create seamless joints can contribute to a clean look even with a decent overhang.
Butcher Block: Natural Warmth and Wood Properties
- Wood Movement: Butcher block is wood, and like all natural materials, it expands and contracts with changes in humidity and temperature.
- Overhang Considerations: Overhangs on butcher block islands should be carefully considered. While it can support a decent overhang, excessive overhang can lead to warping or bowing over time, especially if not properly sealed and maintained. A 10-12 inch overhang is generally safe, but prolonged exposure to moisture needs to be avoided.
Laminate: Budget-Friendly and Lighter
- Lighter Material: Laminate countertops are generally lighter than stone.
- Overhang Limitations: They have more limitations regarding overhangs due to the substrate material (usually particleboard or MDF). A 10-12 inch overhang is often the maximum without additional support, and even then, care must be taken to avoid stressing the edges.
Countertop Overhang Support: The Backbone of Your Island
A beautiful overhang is only as good as its support system. For anything beyond a minimal overhang, especially for kitchen island overhang requirements related to seating, proper countertop overhang support is non-negotiable.
When is Support Needed?
- Over 12 inches: Any overhang exceeding 12 inches, particularly for stone or solid surface materials, will generally require some form of structural support.
- Frequent Use: If the island will be used for dining or as a workspace where people will lean on it, support is crucial even for slightly smaller overhangs.
- Material Strength: The inherent strength of your chosen countertop material plays a significant role. Weaker materials will require support sooner.
Types of Countertop Support
There are several effective ways to provide countertop overhang support, ensuring the longevity and safety of your kitchen island.
1. Overhang Brackets: The Most Common Solution
- Hidden Support: These are metal brackets that are typically mounted to the underside of the countertop and the island cabinet.
- Types:
- L-Brackets: Simple and effective, these form an “L” shape.
- Concealed Brackets: Designed to be completely hidden from view, offering a clean aesthetic.
- Edging Brackets: Mount to the edge of the island, providing support directly beneath the overhang.
- Spacing is Key: The number and spacing of brackets depend on the overhang depth, countertop material, and intended use. Your fabricator will advise on the optimal configuration.
2. Knee Braces: A Traditional Aesthetic
- Diagonal Support: These are angled supports that connect the island cabinet to the underside of the countertop.
- Visual Appeal: Knee braces can add a decorative element to your island, especially in more traditional or farmhouse-style kitchens.
- Strength: They offer very robust support.
3. Posts or Legs: Visible and Functional
- Supporting Pillars: These are vertical supports that are visible from the outside of the island.
- Aesthetic Choice: They can be integrated into the island’s design, matching cabinet finishes or chosen for their decorative qualities.
- Full Support: Posts provide very strong support and are often used for very deep overhangs or in areas with heavy traffic.
4. Steel Support Systems: For Serious Overhangs
- Reinforced Structure: For exceptionally deep overhangs (18 inches or more), specialized steel support systems can be integrated into the island’s base structure.
- Heavy Duty: These are engineered for maximum strength and stability, often used for large statement islands.
5. Edging Support (Waterfall or Thickened Edge)
- Integrated Strength: In some designs, particularly with stone, the countertop edge is “mitered” or “built up” to appear thicker. This can inherently provide a bit more support to the edge itself, but it doesn’t replace the need for underlying structural support for significant overhangs.
- Waterfall Edges: A waterfall edge, where the countertop material extends vertically down the side of the island, can also contribute to stability, but the overhang itself still requires proper bracing.
Table: Recommended Overhangs and Support Needs
| Overhang Depth (inches) | Primary Use | Support Recommendation |
|---|---|---|
| 0-6 | Workspace, Prep | None required (unless supporting heavy appliance) |
| 6-10 | Casual Seating, Bills | Minimal support may be beneficial for stone |
| 10-12 | Comfortable Seating | Brackets or knee braces often recommended for stone |
| 12-15 | Dining, Bar Seating | Brackets, knee braces, or posts are generally required |
| 15+ | Extended Bar Area | Steel support systems or robust posts are essential |
Achieving the Perfect Seating Capacity Kitchen Island
The number of people you can comfortably seat at your island is directly tied to the overhang depth and the width of the island itself.
Factors Influencing Seating Capacity
- Island Width: The wider your island, the more seating positions you can accommodate.
- Overhang Depth: A deeper overhang means more space for each person to sit comfortably.
- Stool Width: The physical width of your stools will also impact how many can fit along the island.
- Elbow Room: Allow at least 24 inches of linear space per person for comfortable seating.
Calculating Seating Capacity
Let’s say you have an island with a 48-inch wide seating overhang.
- With a 12-inch overhang: This provides 12 inches of legroom. If each person needs 24 inches of linear space, you could comfortably seat two adults.
- With a 15-inch overhang: This offers more legroom. You could likely seat two, and potentially three if they are on the smaller side or you don’t mind a slightly cozier arrangement, especially if the island is longer.
- With a 24-inch overhang: This is quite generous and allows for 24 inches of space per person, easily accommodating two adults with ample room.
Example Calculation:
Island Length for Seating: 72 inches
- With 12″ overhang: Seating capacity = 72 inches / 24 inches per person = 3 people (comfortable)
- With 15″ overhang: Seating capacity = 72 inches / 24 inches per person = 3 people (very comfortable)
Remember, these are guidelines. Children take up less space, while adults often appreciate more room.
Design Considerations: Aesthetics and Functionality
Beyond the practical measurements, how you integrate the overhang into your island’s design is crucial.
Types of Island Designs and Overhangs
1. Single-Level Islands: Seamless Integration
- One Surface: The entire countertop is at one height. This is the most common design for incorporating seating.
- Overhang Integration: The overhang is an extension of this single surface, creating a natural bar area. This is where overhang on kitchen island for stools is most directly applied.
2. Two-Level Islands: Defined Zones
- Raised Bar: One level of the countertop is higher than the other, typically creating a raised bar area.
- Overhang on the Higher Level: The seating overhang kitchen island is usually on the raised portion, providing a dedicated dining or social space. The lower level can be used for prep or display.
- Depth Differences: The lower level might have a minimal overhang for practicality, while the upper bar area will have the deeper overhang needed for seating.
3. Specialty Island Shapes: Curves and Angles
- Customization: For islands with curved or angled ends, the overhang needs to be carefully measured and fabricated to maintain consistency and proper support.
- Fabricator Expertise: Working with a skilled fabricator is essential for complex shapes to ensure the overhang is safe and visually appealing.
Edge Profiles and Their Impact
The edge profile of your countertop can subtly affect the perceived overhang and the overall feel of the island.
- Square/Eased Edge: A simple, clean edge. The overhang is exactly as measured.
- Beveled Edge: A slight angle cut into the edge. This can make the overhang appear slightly less deep than it is, but it doesn’t change the structural requirement for support.
- Bullnose/Ogee Edge: Rounded or decorative edges can make an overhang feel more substantial or softened. However, they don’t inherently provide more structural support.
Frequently Asked Questions About Kitchen Island Overhangs
Here are some common questions about kitchen island overhang requirements:
Q1: Can I have a 15-inch overhang on my kitchen island without support?
A1: For most stone countertops (granite, quartz) that are 3cm thick, a 15-inch overhang will likely require support. While these materials are strong, a 15-inch overhang puts significant leverage on the edge. It’s always best to consult with your countertop fabricator, as they will know the specific strength limits of the material they are working with and recommend the appropriate support. For softer materials like marble or thinner slabs, support is almost certainly necessary for a 15-inch overhang.
Q2: What is the minimum kitchen island overhang depth for stools?
A2: The minimum recommended kitchen island overhang depth for comfortable seating with stools is 10 inches. However, 12 inches is generally considered the sweet spot for good legroom, allowing people to sit without their knees bumping the island.
Q3: How much linear space do I need per person at a kitchen island bar?
A3: To ensure comfortable seating, plan for approximately 24 inches of linear space per person. This provides enough room for them to sit, place plates, and move their elbows without feeling cramped.
Q4: Does the thickness of my countertop affect the allowable overhang?
A4: Yes, the thickness of your countertop material significantly affects the allowable overhang. Thicker slabs (like 3cm granite or quartz) are stronger and can typically support a longer overhang than thinner slabs (like 2cm or laminate). Always check with your fabricator for material-specific guidelines.
Q5: What are the kitchen island overhang guidelines for a peninsula?
A5: The guidelines for a peninsula are very similar to those for an island. For seating, a 10-12 inch overhang is recommended for comfort. If the peninsula is primarily for dining, 12-15 inches is ideal. Support will be necessary for overhangs exceeding 12 inches, especially with stone.
Q6: Can I use my kitchen island as a primary dining table?
A6: Yes, you absolutely can use your kitchen island as a primary dining table, provided you design it with sufficient overhang and seating space. Aim for at least a 12-15 inch overhang, ensure there’s adequate legroom, and factor in the seating capacity needed for your family and guests.
Q7: What is the best way to support a large bar overhang width?
A7: For large bar overhangs (15 inches or more), the best support methods include sturdy L-brackets specifically designed for countertops, substantial knee braces, or even integrated metal support frames. The specific type of support will depend on the material, the desired aesthetic, and the overall span of the overhang. Always consult a professional.
Q8: How do I calculate the seating capacity kitchen island?
A8: To calculate the seating capacity kitchen island, first determine the linear footage of your island’s seating overhang. Then, divide that length by 24 inches (the recommended space per person). For example, a 6-foot (72-inch) island overhang can comfortably seat approximately 72 inches / 24 inches/person = 3 people.
Conclusion: Balancing Style and Substance
Choosing the right kitchen island overhang depth is a critical decision that impacts both the functionality and aesthetics of your kitchen. By carefully considering the intended use, the materials involved, and the necessity of proper countertop overhang support, you can create a beautiful and practical centerpiece for your home. Whether you prioritize a casual breakfast bar or a spacious work area, adhering to these kitchen island overhang guidelines will ensure your island serves your needs for years to come. Don’t hesitate to consult with experienced kitchen designers and fabricators to bring your vision to life safely and stylishly.