
The ideal amount of overhang on a kitchen island depends on its intended use, with seating areas requiring more knee space for island seating than purely workspace islands. Generally, a minimum seating overhang of 10-12 inches is recommended for comfortable dining or casual seating.
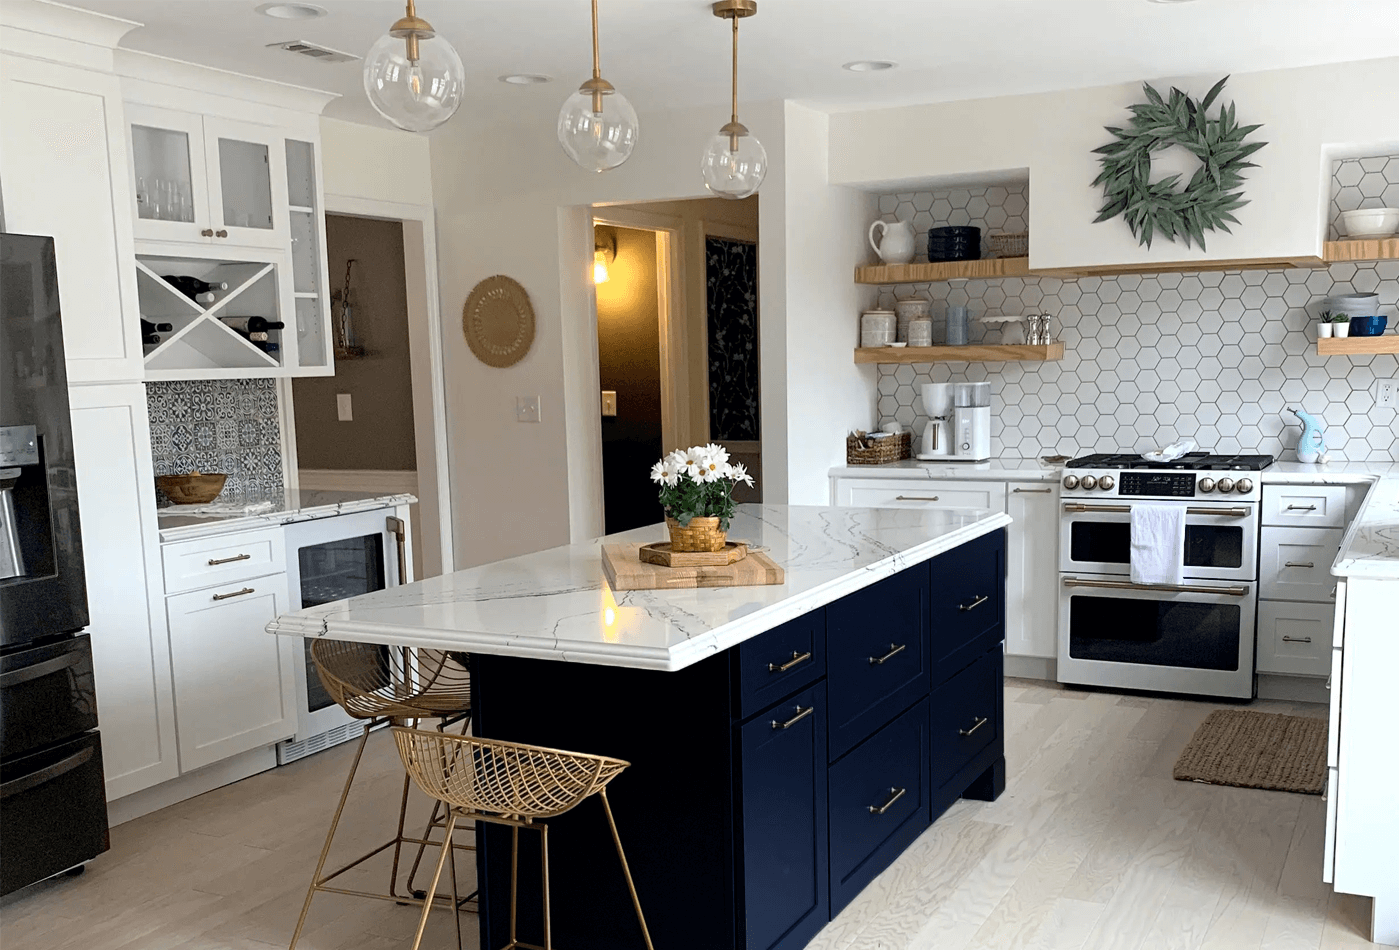
Image Source: dropinblog.net
The Art and Science of Kitchen Island Overhang
A kitchen island is often the heart of the home, a versatile hub for cooking, dining, and socializing. The overhang of your kitchen island’s countertop isn’t just an aesthetic choice; it’s a functional decision that significantly impacts usability and comfort. Getting the island overhang calculation right ensures your island serves its purpose beautifully and practically. This guide will delve into the specifics of how much overhang is appropriate for various island functions, helping you make an informed decision for your kitchen.
Decoding Countertop Overhang Requirements
When planning your kitchen island, the countertop overhang requirements are a crucial consideration. This is the portion of the countertop that extends beyond the base of the island. It’s what provides that essential legroom for seating and adds a touch of visual elegance.
Why Overhang Matters
- Comfort for Seating: Without adequate overhang, sitting at an island can be cramped and uncomfortable. Your knees will bump against the cabinet base, making it difficult to sit for any length of time.
- Aesthetics: A well-proportioned overhang contributes to the overall visual balance of the island and the kitchen. It can make a bulky island appear lighter and more inviting.
- Functionality: For tasks like dining or working, the overhang provides a surface to rest your arms or place items closer to you.
Factors Influencing Overhang Size
Several factors will influence how much overhang you decide to incorporate:
- Primary Use of the Island: Is it mainly for food prep, casual dining, or both?
- Type of Seating: Will you have counter-height stools, bar stools, or standard dining chairs?
- Countertop Material: Different materials have varying strength and load-bearing capabilities.
- Structural Support: The type and placement of support will dictate how far the countertop can safely extend.
- Aesthetic Preferences: The desired look and feel of your kitchen.
Determining the Right Overhang for Kitchen Island Seating
The most common reason for an overhang is to accommodate seating. This is where the kitchen island seating depth becomes paramount.
Overhang for Bar Stools
When planning for overhang for bar stools, the standard recommendation is to allow at least 12 inches of kitchen island seating depth for each person. This measurement refers to the clear space from the edge of the countertop to the front of the cabinet or island base. This provides enough room for people to sit comfortably without their knees hitting the cabinets.
- For Casual Seating (Counter-Height Stools): Aim for 10-12 inches of overhang. This is generally sufficient for people to sit and eat a quick meal or chat.
- For Dining (Dining Island Overhang): If your island is intended as a primary dining space, you’ll want a more generous overhang, typically 15-18 inches. This allows for plates, glasses, and comfortable elbow room.
- Elbow Room: Consider that people need space for their elbows. An overhang that’s too shallow will feel cramped.
Seating Overhang Guidelines Summarized
Here’s a quick reference for seating overhangs:
| Seating Type | Recommended Overhang (in inches) | Notes |
|---|---|---|
| Casual Seating | 10-12 | Comfortable for counter-height stools, short meals. |
| Dining | 15-18 | Ample space for plates, glasses, and elbow room. |
| Workspace/Lounge | 12-15 | Good for laptops or working with a comfortable reach. |
| Minimal Overhang | 6-8 | Primarily for aesthetic or shallow seating; can feel cramped. |
| No Overhang | 0 | For islands with no seating intended. |
Ensuring Adequate Knee Space
The goal is to provide enough knee space for island seating. This means that when someone is seated at the island, their legs have sufficient room to tuck underneath the countertop.
- Standard Knee Wall: A typical island base often includes a knee wall or cabinetry. The overhang needs to clear this.
- Depth vs. Width: While overhang depth is critical for legroom, the width of the seating area is also important for avoiding an “elbow-to-elbow” situation.
Overhang for Islands Without Seating
Even if your island doesn’t have seating, an overhang can still be beneficial for practical and aesthetic reasons.
Functional Overhang for Workspace
A small overhang, typically 1 to 1.5 inches, can be functional even without seating. This provides a slight edge to:
- Prevent Drips: It helps prevent spills from running down the front of your cabinetry.
- Easier Cleaning: It can make wiping down the countertop edge a little easier.
- Aesthetic Finish: It gives the countertop a finished and intentional look.
Aesthetic Overhang
Sometimes, an overhang is purely for visual appeal. A slight overhang can balance the visual weight of the countertop, making it appear less blocky and more refined. However, an overly large overhang without proper support can look awkward and be a tripping hazard.
The Impact of Countertop Material on Overhang
The material you choose for your kitchen island countertop plays a significant role in how much overhang is safe and advisable.
Stone Countertops (Granite, Quartz, Marble)
- Granite and Quartz: These are very strong materials and can typically support longer overhangs than other types.
- With Support: Overhangs of up to 18 inches are generally safe with proper structural support.
- Without Support (Self-Supporting): For an unsupported overhang of granite or quartz, 10-12 inches is usually the maximum before needing additional support. The thickness of the slab also plays a role.
- Marble: While beautiful, marble is softer and more prone to scratching and staining. It’s also more brittle than granite or quartz.
- With Support: Similar to granite and quartz, but it’s wise to err on the side of caution.
- Without Support: 10 inches is generally the maximum for unsupported marble.
Solid Surface (Corian, etc.)
- Solid surface materials are less brittle than stone and can be quite strong.
- With Support: Overhangs of up to 12-15 inches are usually acceptable.
- Without Support: Up to 10 inches is generally safe.
Laminate
- Laminate countertops are more affordable but less durable than stone or solid surface.
- With Support: Overhangs of up to 12 inches are possible, but it’s crucial to ensure the support is robust.
- Without Support: Laminate is not designed for significant unsupported overhangs. 1 inch is often the maximum for a simple edge finish. Any more than that will likely require support to prevent sagging or cracking.
Wood (Butcher Block)
- Wood countertops are durable but can warp or bow if not properly maintained and supported.
- With Support: Overhangs of up to 12-15 inches can work, especially if the grain runs perpendicular to the overhang.
- Without Support: 8-10 inches is a safer bet to prevent sagging.
Concrete
- Concrete countertops are very strong but also very heavy.
- With Support: Significant overhangs are possible, but the weight needs to be considered in the island’s overall structure.
- Without Support: 10-12 inches is typical.
Kitchen Island Support: The Backbone of Your Overhang
Proper kitchen island support is absolutely critical, especially for larger overhangs or when the island is intended for seating. The type of support you choose depends on your island’s design, the countertop material, and the desired overhang.
Types of Island Support
-
Overhang Brackets: These are metal brackets that are typically L-shaped. They are mounted to the island’s base and the underside of the countertop.
- Flush Brackets: Mount flush with the cabinet sides.
- Reverse Angle Brackets: Mount at an angle to provide maximum knee clearance. These are excellent for seating areas.
- Concealed Brackets: Designed to be hidden from view for a cleaner aesthetic.
-
Legs or Posts: Adding legs or decorative posts at the end of an island or under the overhang can provide robust support. This is common for islands with a dining table-like extension.
-
Knee Wall or Bulkhead: Building a solid wall structure within the island base itself can provide excellent support for an overhang. This is a very strong and stable method.
-
Countertop Support Panels: Thick panels made of plywood or MDF can be installed beneath the countertop to distribute weight and provide support. These are often used in conjunction with brackets.
How Much Support is Needed?
The general rule of thumb is:
- Overhangs up to 4 inches: Often do not require visible support, especially with strong materials like granite or quartz. The countertop’s own strength might suffice, though a minimal bracket is always a good idea for longevity.
- Overhangs of 6-10 inches: Generally require some form of support, such as flush brackets or a substantial knee wall.
- Overhangs over 10 inches: Always require robust support. This usually means using strong L-brackets, reverse angle brackets, or a solid supporting structure like a knee wall or thick support panel. For very long overhangs, multiple supports may be necessary.
The Zero Overhang Scenario
If your island design doesn’t call for seating and you prefer a minimalist look, you can opt for zero overhang. This means the countertop sits flush with the island’s base cabinets. While this is structurally straightforward, it can sometimes look a bit unfinished. A small, subtle lip or eased edge can provide a more polished appearance without a significant overhang.
Waterfall Countertops and Overhangs
A waterfall countertop is a design where the countertop material extends vertically down the sides of the island, creating a seamless, continuous look. This style has specific considerations for overhang.
- On the Seating Side: If you’re incorporating seating on the side where the waterfall design is, the overhang for knee space is still the primary concern. You’ll need to ensure enough space is left before the waterfall edge begins.
-
On the Non-Seating Sides: The waterfall itself acts as a support for the top surface, especially on the ends.
- Overhang on the Waterfall End: If the waterfall is only on the ends, the overhang on the seating side is handled as usual.
- Overhang on the Working Side: For the side that doesn’t have seating, a minimal overhang (1-2 inches) is common for aesthetic finishing.
-
Structural Integrity of the Waterfall: The waterfall panels themselves need to be thick enough and securely attached to support the countertop slab and any weight placed upon it. Often, a supporting frame or thicker slab material is used for the waterfall sections.
Performing Your Island Overhang Calculation
Let’s break down the island overhang calculation with a practical example.
Scenario: You want to add counter-height stools to your 36-inch deep island.
- Island Base Depth: Let’s assume your base cabinets are 24 inches deep.
- Required Knee Space: For comfortable seating, you need at least 10-12 inches of kitchen island seating depth.
- Total Required Depth: Base Cabinet Depth (24 inches) + Knee Space (12 inches) = 36 inches.
- Countertop Depth: To achieve this, your countertop needs to be at least 36 inches deep.
- Overhang Calculation: Countertop Depth (36 inches) – Base Cabinet Depth (24 inches) = 12 inches of overhang.
Considerations for this calculation:
- Cabinet Protrusion: Some cabinet doors or drawer pulls might extend slightly beyond the cabinet box. Factor this in for accurate knee space.
- Island Base Design: If your island has a decorative panel or a different front structure, measure from the furthest point of that structure.
- Countertop Thickness: A thicker countertop will mean the overhang measurement is taken from a thicker slab, which can slightly affect the feel of the overhang.
Common Mistakes to Avoid with Kitchen Island Overhangs
Even with the best intentions, countertop overhang requirements can be misunderstood, leading to common pitfalls.
Not Enough Overhang
- The Problem: This is the most frequent mistake. People underestimate the amount of space needed for comfortable seating, resulting in cramped conditions where knees constantly bump against the island base.
- The Solution: Always prioritize seating overhang guidelines. If in doubt, add an extra inch or two. It’s better to have a little too much space than not enough.
Too Much Overhang Without Support
- The Problem: Extending a countertop too far beyond its support structure can lead to sagging, cracking, or even catastrophic failure, especially with heavier materials like granite or stone.
- The Solution: Consult with your fabricator or installer about the maximum safe overhang for your chosen material and the necessary support systems.
Ignoring Countertop Material Strength
- The Problem: Assuming all materials can support the same overhang is dangerous. A fragile material with a large unsupported overhang is a recipe for disaster.
- The Solution: Research the specific strength and load-bearing capabilities of your chosen countertop material.
Forgetting About Stool Height
- The Problem: The height of your stools (counter-height vs. bar-height) directly influences the required overhang.
- The Solution: Measure your stool height and then measure the distance from the seat to the top. This will confirm the necessary knee space you need to provide.
Poor Support Placement
- The Problem: Even with brackets, if they aren’t positioned correctly or if there aren’t enough of them, the overhang can still be weak.
- The Solution: Ensure supports are strategically placed to bear the load evenly across the overhang.
Visualizing Your Overhang: Design and Functionality
The visual impact of an overhang is as important as its functionality.
Creating Dining Nooks
A significant overhang (15+ inches) transforms your island into a functional dining area. This allows chairs or stools to be tucked neatly underneath, maximizing floor space. It’s a great way to incorporate a casual dining spot without dedicating a separate area.
The Peninsula Extension
Similar to an island overhang, a peninsula is a countertop that extends from an existing counter, creating an L-shape or U-shape. The overhang principles for seating are the same.
Staggered Overhangs
For a more dynamic look, consider staggered overhangs. For example, you might have a 12-inch overhang for general seating, but then extend a portion of that overhang to 18 inches to create a more generous space for someone to work or dine more comfortably.
Frequently Asked Questions (FAQ)
Q1: What is the minimum overhang for seating on a kitchen island?
A1: The minimum overhang for comfortable seating on a kitchen island is generally 10 inches. For dining, 15 inches is recommended.
Q2: Can I have a 15-inch overhang on my granite island without support?
A2: While granite is strong, a 15-inch unsupported overhang is generally not recommended. It’s best to consult with your countertop fabricator, but most would advise using support brackets for overhangs exceeding 10-12 inches.
Q3: How much knee space do I need for bar stools at my island?
A3: You need at least 10-12 inches of clear kitchen island seating depth for typical bar stools to ensure comfortable knee space for island seating.
Q4: What is a waterfall countertop overhang?
A4: A waterfall countertop overhang refers to the overhang on a waterfall countertop design where the countertop material extends vertically down the sides of the island. The overhang for seating is still calculated for legroom, while the waterfall panels provide some structural support for the top.
Q5: Do I need support for a 6-inch overhang on a quartz island?
A5: A 6-inch overhang on a quartz island is generally considered safe without visible support for many applications, but a small, discreet bracket can add extra security and longevity. Always check with your installer.
Q6: How do I calculate the island overhang?
A6: To calculate the island overhang, subtract the depth of your island’s base cabinets from the desired total countertop depth. For seating, the total depth should accommodate the cabinet depth plus at least 10-12 inches of seating overhang guidelines.
Q7: What are the countertop overhang requirements for eating at an island?
A7: For comfortable dining, countertop overhang requirements typically suggest a dining island overhang of 15-18 inches.
Q8: Can I put a sink or cooktop in an island with a large overhang?
A8: Placing heavy appliances like sinks or cooktops directly over a large unsupported overhang is generally not advisable. The weight of the appliances and the water can stress the overhang. Proper structural support integrated into the island’s design is essential if you plan to do this.
By carefully considering these guidelines and consulting with professionals, you can ensure your kitchen island overhang is both beautiful and perfectly functional for years to come.