
Can you add a pantry to a kitchen that doesn’t have one? Yes, absolutely! Adding a pantry to your kitchen is a fantastic way to improve your kitchen storage solutions. Whether you have a spacious kitchen or a smaller one, there are many ways to incorporate a pantry, from built-in pantry design to freestanding pantry cabinets. This guide will walk you through the process, offering various options and essential pantry organization ideas to make the most of your new space.
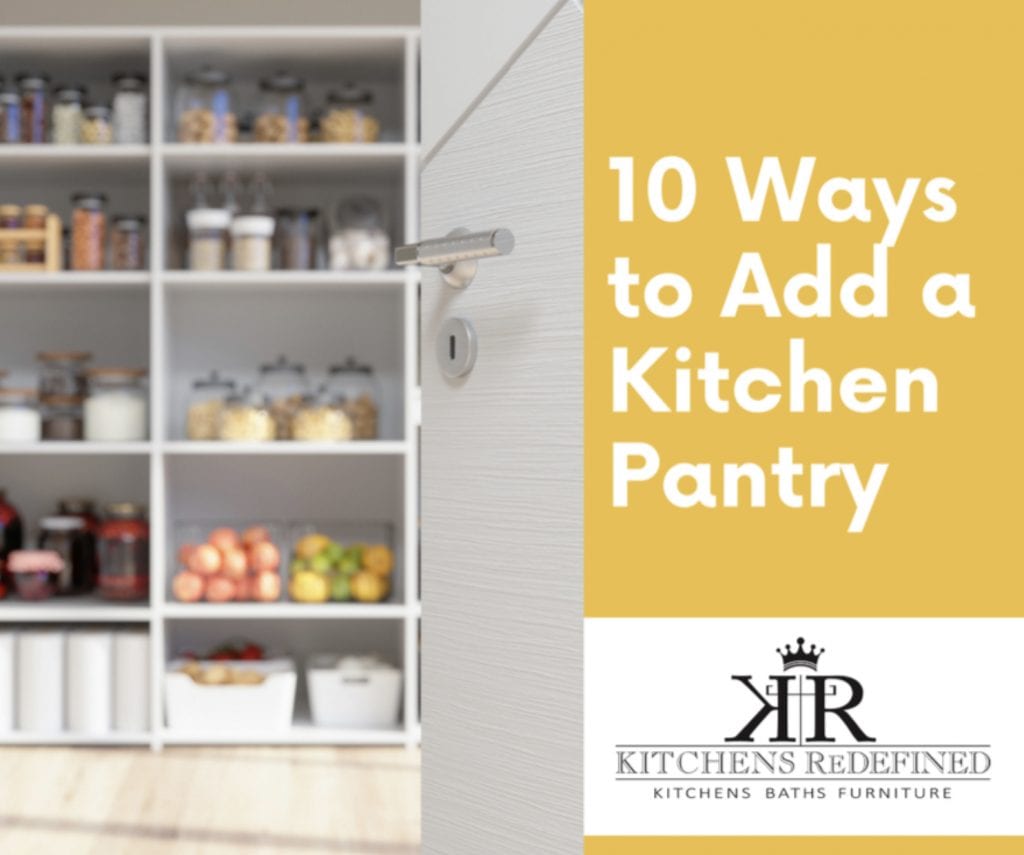
Image Source: www.kitchensredefined.com
Why Add a Pantry?
Before diving into the “how,” let’s consider the “why.” A dedicated pantry offers numerous advantages:
- Enhanced Organization: No more cluttered countertops or overflowing cabinets. A pantry provides a designated space for food items, small appliances, and even cleaning supplies, keeping your kitchen tidy and efficient.
- Improved Accessibility: Easily see and reach all your ingredients. This saves time and reduces frustration when meal prepping or grocery shopping.
- Better Food Management: Keep track of what you have, reducing food waste by knowing expiration dates and avoiding duplicate purchases.
- Increased Kitchen Value: A well-designed pantry is a sought-after feature that can increase your home’s appeal and resale value.
- Aesthetic Appeal: A beautiful pantry can be a visual asset to your kitchen, especially when incorporating clever pantry organization ideas.
Assessing Your Kitchen Space
The first step in adding a pantry is to look at your kitchen and see where you have available space. Even the smallest kitchens can often accommodate some form of pantry.
Identifying Potential Locations
- Underutilized Corners: Are there awkward, unused corners in your kitchen? These can be perfect for shallow or corner pantry units.
- Dead Space: Look for areas that might seem like wasted space, such as next to a refrigerator, a large cabinet, or even a seldom-used nook.
- Adjacent Rooms/Closets: If you have a small closet or an unused area right next to your kitchen, you might be able to convert it into a pantry.
- Wall Space: Even a single wall can be utilized for shallow shelving or built-in pantry design.
Measuring Your Space
Once you’ve identified potential spots, precise measurements are crucial.
- Width: Measure the width of the area from wall to wall.
- Depth: Measure from the front of the wall to the back. Consider any obstructions like pipes or electrical outlets.
- Height: Measure from the floor to the ceiling.
These measurements will determine the type and size of pantry you can install.
Types of Pantries You Can Add
There are several popular ways to add a pantry, each with its own pros and cons.
Built-in Pantry Design
A built-in pantry is a fantastic option if you have dedicated space and want a seamless look. This typically involves framing out a new space or converting an existing closet.
Converting an Existing Closet
- Pros: Relatively straightforward, maximizes existing space, often requires minimal structural changes.
- Cons: Limited by the size and location of the original closet, may require rearranging shelving.
Process Overview:
- Clear the Closet: Remove all items and any existing shelving.
- Assess Structure: Check for any necessary repairs or framing adjustments.
- Install Shelving: Add adjustable shelves, fixed shelves, or custom shelving units for your pantry.
- Add Door/Access: Ensure the closet door functions properly or consider an alternative like a pocket door.
Building a New Enclosed Pantry
- Pros: Full control over size, location, and design; can be customized to fit your aesthetic.
- Cons: Requires more significant construction, potential for higher costs.
Considerations for Built-in Pantry Design:
- Framing: You’ll need to build new walls using standard lumber (2x4s) to create the pantry enclosure.
- Drywall: Once framed, the interior will need to be drywalled, taped, mudded, and painted.
- Door: Choose a door that complements your kitchen style – a standard swing door, a pocket door, or even a barn door can work.
- Lighting: Battery-operated LED lights or hardwired fixtures can illuminate the space.
Freestanding Pantry Cabinets
For a less permanent or more flexible solution, freestanding pantry cabinets are an excellent choice. These are essentially standalone storage units that can be moved if needed.
- Pros: Easy to install, no construction required, portable, available in many styles and sizes.
- Cons: May not offer as much storage as a built-in option, can sometimes look less integrated.
Choosing Freestanding Pantry Cabinets:
- Size: Measure your available space carefully and select cabinets that fit snugly.
- Style: Match the cabinet style to your kitchen décor. Options range from modern to traditional.
- Features: Look for adjustable shelves, pull-out drawers, or specialized storage for cans and spices.
- Placement: Position them strategically to enhance kitchen flow and access. You can place them against a wall, in a corner, or even as a divider.
Kitchen Cupboard Conversions
Sometimes, the best pantry solution is to repurpose existing kitchen cupboards. This is ideal for smaller kitchens or for creating a dedicated space for specific items.
- Pros: Minimal cost and effort, uses existing cabinetry, quick to implement.
- Cons: Limited storage capacity, may require reconfiguring shelves.
How to Convert Kitchen Cupboards:
- Designate a Cupboard: Choose a cupboard that is deep enough or tall enough for your needs.
- Empty and Clean: Remove everything from the cupboard.
- Reconfigure Shelving: Adjust shelf heights to accommodate various food items. You might add pull-out shelves or baskets for better access.
- Label: Clearly label the cupboard “Pantry” or for specific contents (e.g., “Baking Supplies,” “Canned Goods”).
Walk-in Pantry Benefits
If you have ample space, a walk-in pantry offers the ultimate in storage and organization.
- Pros: Huge storage capacity, easy to move around inside, can accommodate large items, visually appealing.
- Cons: Requires significant space and budget, more complex construction.
Designing a Walk-in Pantry:
- Layout: Plan for efficient shelving and aisle space. Standard aisles should be at least 3 feet wide.
- Shelving Depth: Aim for shelves that are 12-16 inches deep for most items. Deeper shelves (20-24 inches) can be useful for larger appliances but can lead to items being lost in the back.
- Lighting: Good lighting is essential. Consider overhead lights and perhaps task lighting.
- Ventilation: While not always necessary, good airflow can be beneficial.
DIY Pantry Construction: Step-by-Step Guide
Let’s focus on a common and achievable DIY project: building a simple pantry unit in an existing alcove or by framing a new one.
Project: Building a Simple Pantry Alcove
This assumes you have an empty alcove or are willing to frame a shallow pantry into an existing wall.
Materials You’ll Need:
- Lumber: 2×4 studs for framing (if needed).
- Plywood or MDF: For shelves and potentially back paneling.
- Screws: Various lengths for framing and attaching shelves.
- Drywall: If creating a new enclosure.
- Drywall mud, tape, and sandpaper: For finishing drywall.
- Paint or primer: For finishing.
- Door: (Optional) Pre-hung door, bifold doors, or simply leave it open.
- Hinges and handles: (If adding a door).
- Shelf brackets or support strips.
- Measuring tape, level, stud finder, saw (circular or miter), drill, screwdriver, utility knife, safety glasses, dust mask.
Step 1: Plan and Measure
- Finalize Location: Confirm the exact spot for your pantry.
- Take Detailed Measurements: Width, height, and depth.
- Sketch Your Design: Decide on shelf spacing and layout. Consider standard shelf heights: 12-15 inches for cans and jars, 16-18 inches for cereal boxes and taller items.
Step 2: Prepare the Space
- If using an alcove: Clear out the space. If there’s existing shelving you don’t want, remove it.
- If framing:
- Locate Studs: Use a stud finder to locate wall studs.
- Mark Layout: Mark where your new pantry walls will go. Ensure they are plumb (vertical) using a level.
- Cut Studs: Cut 2x4s to create top and bottom plates and vertical studs for your new walls.
- Assemble Frame: Build the frame on the floor, then lift it into place and secure it to the ceiling joists and floor. Then, add any interior studs for support.
Step 3: Install Shelving Supports
There are several ways to install shelves:
- Directly Screwed: Screw shelf boards directly into studs or framing. This is the simplest but offers less adjustability.
- Shelf Pins/Supports: Drill holes into the pantry walls at desired intervals and insert adjustable shelf pins. This is very flexible.
- Cleats/Ledgers: Screw horizontal strips of wood (cleats) to the pantry walls. The shelves then rest on these cleats. This provides good support.
Table: Shelf Support Methods
| Method | Ease of Installation | Adjustability | Support Strength | Aesthetic |
|---|---|---|---|---|
| Direct Screw | Very Easy | Low | Good | Functional |
| Shelf Pins/Supports | Easy | High | Good | Clean, Modern |
| Cleats/Ledgers | Moderate | Medium | Very Good | Traditional, Sturdy |
DIY Tip: For extra sturdy shelves, especially if you plan to store heavy items like canned goods or appliances, use cleats or consider adding a back panel to your shelves.
Step 4: Cut and Install Shelves
- Material Choice: Plywood (3/4 inch is sturdy) or MDF are common choices.
- Measure and Cut: Measure the depth and width for each shelf, accounting for the thickness of any side panels or framing. Cut your shelf material accurately.
- Install Shelves:
- Cleats: Position shelves on the cleats and screw them in from the top.
- Shelf Pins: Insert pins into the pre-drilled holes and place shelves on top.
- Direct Screw: Position shelves and screw them into the framing through the shelf material.
Step 5: Finishing Touches
- Drywall (if applicable): If you framed a new pantry, install drywall, tape the seams, apply multiple coats of joint compound, sand smooth, and paint.
- Paint/Stain: Paint or stain your pantry shelves and any exposed wood. Choose a durable, washable finish.
- Install Door (if desired): Hang your chosen door and attach hardware.
- Add Lighting: Install battery-powered puck lights or a simple plug-in light for visibility.
Custom Kitchen Pantry Options
Beyond the basic DIY, you can create truly custom kitchen pantry solutions.
Built-in Pantry Design Features
- Pull-out Drawers/Shelves: These make accessing items at the back of the pantry much easier. They can be full-extension slides for maximum accessibility.
- Corner Solutions: Lazy Susans or pull-out corner units can maximize often-awkward corner spaces.
- Specialty Storage: Consider pull-out spice racks, wine racks, or dedicated shelves for appliances like mixers.
- Integrated Lighting: LED strip lighting under shelves or along the back can provide excellent illumination.
Freestanding Pantry Cabinets as a System
You can buy multiple freestanding pantry cabinets and arrange them to create a built-in look.
- Connect Cabinets: Secure cabinets together to create a continuous storage unit.
- Add a Top: Install a butcher block or laminate top over the cabinets to create a countertop within your pantry, useful for staging groceries.
- Crown Molding: Add crown molding to the top of the cabinets for a more finished, built-in appearance.
Pantry Organization Ideas
A new pantry is only as good as its organization. Here are some ideas to keep it tidy and functional:
Maximizing Shelf Space
- Adjustable Shelving: Use adjustable shelf pins to fine-tune shelf heights as your needs change.
- Shelf Risers/Stackers: These create extra levels on existing shelves, effectively doubling your usable space for cans, spices, or jars.
- Vertical Storage: Use tension rods to create dividers for baking sheets, cutting boards, or platters.
Containerization is Key
- Clear Bins and Baskets: Use clear plastic bins for items like snacks, pasta, or packets. This allows you to see contents easily.
- Airtight Containers: Decant dry goods like flour, sugar, rice, and pasta into airtight containers. This keeps them fresh, prevents spills, and creates a uniform look.
- Labeled Jars: Label all your containers clearly with the contents and expiration dates.
Smart Storage Solutions
- Turntables (Lazy Susans): Perfect for corners or for organizing oils, vinegars, spices, or condiments.
- Can Dispensers: These gravity-fed dispensers store and dispense cans efficiently.
- Tiered Shelving: Ideal for cans and spices, allowing you to see items at the back.
- Door Organizers: Utilize the back of your pantry door with hanging racks for spices, jars, or smaller cleaning supplies.
Grouping Similar Items
- Baking Supplies: Flour, sugar, baking soda, chocolate chips, sprinkles.
- Breakfast Items: Cereal, oatmeal, pancake mix.
- Dinner Staples: Pasta, rice, sauces, canned tomatoes.
- Snacks: Crackers, chips, granola bars, dried fruit.
- Beverages: Tea, coffee, hot chocolate.
Small Kitchen Pantry Solutions
Even without a large walk-in, small kitchens can benefit greatly from pantry additions.
- Slim Pull-out Pantries: These narrow units, often only 6-8 inches wide, can fit into the smallest gaps between cabinets or appliances. They are excellent for cans, jars, and spices.
- Over-the-Refrigerator Shelf: If you have space above your fridge, consider installing a shelf or a narrow cabinet.
- Wall-Mounted Shelving: Open wall shelving can provide accessible storage for frequently used items.
- Cabinet Depth Pantries: Standard kitchen cabinets are often 24 inches deep, but you can create shallower pantries (12-18 inches deep) using various methods. This is often enough for many food items.
- Repurposing Furniture: An old baker’s rack, a small bookshelf, or even a narrow dresser can be adapted into a charming pantry.
Frequently Asked Questions About Adding a Pantry
Q1: What is the easiest way to add a pantry?
A1: The easiest way is to use freestanding pantry cabinets or convert an existing closet. These methods require the least amount of construction.
Q2: Can I add a pantry to a small kitchen?
A2: Yes! Small kitchens can benefit from slim pull-out pantries, wall-mounted shelving, repurposed furniture, or converting existing cabinets. Every bit of organized storage helps.
Q3: How deep should pantry shelves be?
A3: Most pantry shelves are 12 to 16 inches deep. Deeper shelves (up to 24 inches) can be useful for larger items but make it harder to see things at the back.
Q4: What materials are best for DIY pantry shelves?
A4: 3/4 inch plywood is a popular choice for its durability and strength. MDF is another option, but it can be heavier and less resistant to moisture.
Q5: Do I need a door for my pantry?
A5: Not necessarily. An open pantry can be very functional, especially if you use attractive containers. However, a door helps conceal clutter and can contribute to a cleaner kitchen aesthetic.
Q6: What kind of lighting is best for a pantry?
A6: Battery-operated LED puck lights are very easy to install and provide good illumination. For a more permanent solution, consider a simple overhead fixture or LED strip lighting.
Adding a pantry to your kitchen is a rewarding DIY project that can significantly improve your home’s functionality and organization. By carefully assessing your space and choosing the right method, you can create a custom kitchen pantry that perfectly suits your needs. Happy building and organizing!