
Can you finish unfinished kitchen cabinets yourself? Yes, you absolutely can! With the right tools and a bit of patience, anyone can achieve a professional-looking finish on their unfinished kitchen cabinets. This guide will walk you through the entire process, from preparing the wood to applying the final protective coat.
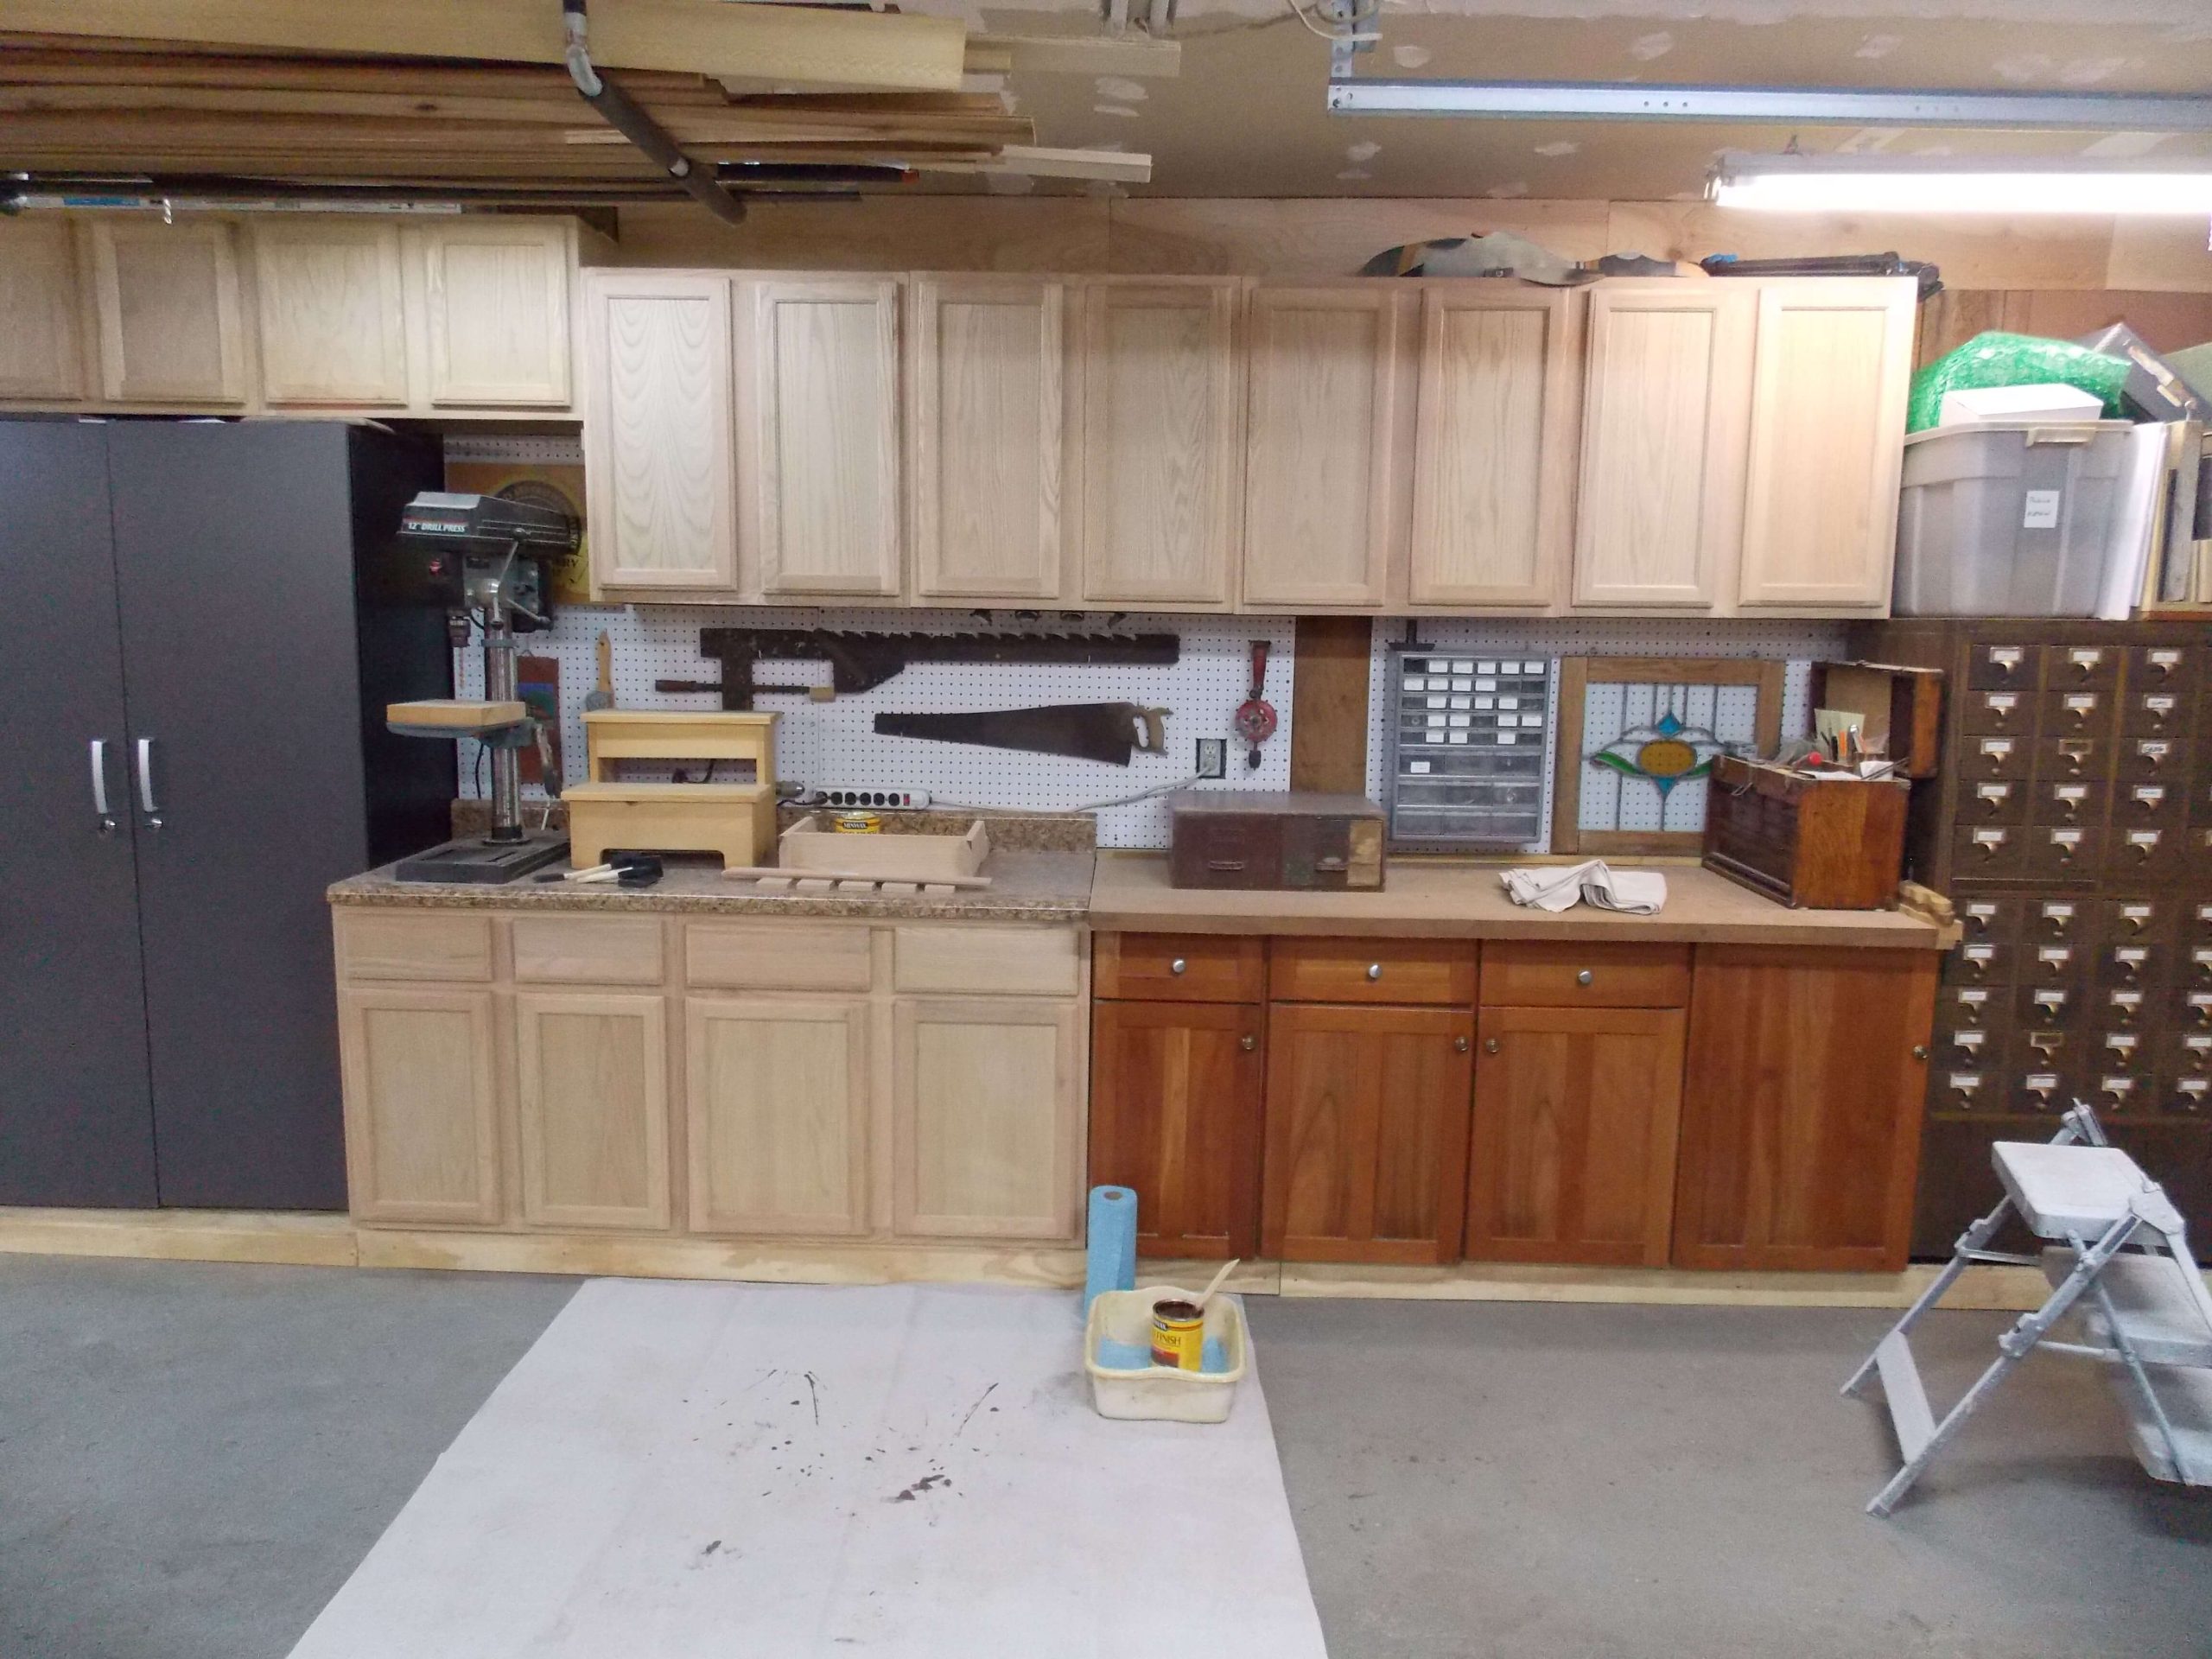
Image Source: www.highlandsdesigns.com
Why Finish Your Unfinished Kitchen Cabinets?
Unfinished kitchen cabinets are a blank canvas, offering a fantastic opportunity for customization and significant cost savings. You get to choose the exact color, stain, or paint that perfectly matches your kitchen’s aesthetic. This DIY project not only enhances the beauty of your kitchen but also protects the wood from moisture, grease, and everyday wear and tear. It’s a rewarding project that adds value and personality to your home.
Choosing Your Cabinet Finish: Paint vs. Stain
The first crucial step in DIY cabinet finishing is deciding whether to paint or stain your unfinished wood cabinets. Both offer distinct looks and require slightly different preparation and application techniques.
Painting Unfinished Cabinets
Painting provides a smooth, uniform color that can completely transform the look of your kitchen. It’s excellent for covering imperfections in the wood and offers a vast spectrum of color choices.
- Pros:
- Endless color options.
- Can hide minor wood imperfections.
- Creates a clean, modern look.
- Generally more forgiving for beginners.
- Cons:
- Can chip or scratch over time if not properly sealed.
- Requires thorough priming.
- Brush strokes can be visible if not applied carefully.
Staining Unfinished Wood Cabinets
Staining enhances the natural grain and beauty of the wood, adding warmth and depth. It’s ideal for kitchens with a more traditional or rustic feel.
- Pros:
- Highlights natural wood grain.
- Offers rich, warm tones.
- Durable finish when properly sealed.
- Cons:
- Requires careful application to avoid blotchiness.
- Color choices are limited by wood type.
- Imperfections in the wood will be more visible.
Preparing Wood Cabinets for Finishing: The Foundation of Success
Proper preparation is non-negotiable for a lasting, beautiful finish. This phase involves cleaning, repairing, and smoothing the wood surface. Gather all your cabinet finishing supplies before you begin.
Step 1: Disassemble and Organize
- Remove Doors and Drawers: Take off all cabinet doors, drawer fronts, and any visible hardware. This allows for a more even finish and easier access to all surfaces.
- Label Everything: Use painter’s tape and a pen to label each door, drawer, and corresponding cabinet frame. This is crucial for reassembly. For example, label a door “Upper Left 1” and the corresponding cabinet opening the same.
- Organize Hardware: Place screws and hinges in labeled bags or containers.
Step 2: Clean the Cabinets Thoroughly
Even new, unfinished cabinets can have dust, oils, or residue from manufacturing.
- Use a Mild Cleaner: A solution of warm water and a mild dish soap is usually sufficient.
- Wipe Down: Use a clean cloth or sponge to wipe down all surfaces.
- Rinse and Dry: Wipe again with a cloth dampened with plain water to remove any soap residue. Dry thoroughly with a clean, lint-free towel. For grease-prone areas, a degreaser might be necessary.
Step 3: Repair Any Imperfections
Inspect the cabinets for any dents, scratches, or cracks.
- Wood Filler: Use wood filler for small dents and scratches. Apply it with a putty knife, pressing it firmly into the imperfection.
- Sanding Filler: Once the filler is completely dry (check product instructions), sand it smooth with the surrounding wood.
Sanding Unfinished Cabinets: Creating a Smooth Surface
Sanding unfinished cabinets is a critical step that ensures your finish adheres properly and looks smooth.
Step 4: Sanding for Smoothness
- Start with Medium Grit: Begin with 100-grit or 120-grit sandpaper. This removes any rough spots or mill marks left from manufacturing.
- Sand with the Grain: Always sand in the direction of the wood grain to avoid visible scratches.
- Progress to Finer Grits: After the initial sanding, move to a finer grit, such as 150-grit, and then to 180-grit or 220-grit sandpaper. The finer the grit, the smoother the surface will be.
- Orbital Sander vs. Hand Sanding: An orbital sander is faster for large, flat areas like cabinet doors. However, you’ll need to use sanding blocks or folded sandpaper for edges, corners, and smaller details.
- Clean After Each Grit: After sanding with each grit, wipe down the surfaces with a tack cloth or a slightly damp cloth to remove all dust. Dust left behind will ruin your finish.
Step 5: Final Cleaning and Dust Removal
This is your last chance to remove all dust before applying any finish.
- Tack Cloth: A tack cloth is sticky and designed to pick up fine dust particles. Wipe down every surface meticulously.
- Vacuum with Brush Attachment: For initial dust removal, a vacuum cleaner with a soft brush attachment can be helpful.
- Compressed Air: If you have it, compressed air can blow dust out of corners and crevices. Follow up with a tack cloth.
Priming Unfinished Kitchen Cabinets: The Essential Base Coat
Priming unfinished kitchen cabinets is a crucial step, especially if you plan to paint. Primer acts as a bonding agent between the wood and your paint, preventing the paint from soaking unevenly into the wood and ensuring a consistent, durable finish.
Step 6: Apply Primer
- Choose the Right Primer: Use a high-quality primer specifically designed for cabinets or wood. If you’re painting, a good oil-based or shellac-based primer offers excellent adhesion and stain blocking. For a faster-drying option, water-based primers are available.
- Application Methods:
- Brushing: Use a high-quality synthetic brush for smooth application. Apply thin, even coats, brushing with the grain.
- Rolling: For flat surfaces like doors, a foam roller can provide a smoother finish than a brush.
- Spraying: For the most professional, ultra-smooth finish, a paint sprayer is the best option. Ensure you use proper ventilation and a respirator if spraying.
- Apply Thin Coats: Apply one or two thin, even coats of primer. Avoid thick, gloppy applications, which can lead to drips and an uneven surface.
- Drying Time: Allow the primer to dry completely according to the manufacturer’s instructions. This is typically several hours.
Step 7: Light Sanding After Priming
Once the primer is dry, you’ll need to lightly sand it.
- Use Fine-Grit Sandpaper: Use 220-grit or 320-grit sandpaper.
- Gentle Sanding: Sand the primed surfaces lightly. The goal here is not to remove the primer but to knock down any small imperfections, dust nibs, or raised grain that the primer might have caused.
- Clean Again: Thoroughly wipe down all surfaces with a tack cloth or damp cloth to remove all sanding dust. This is critical before painting.
Painting Unfinished Cabinets: Bringing Your Vision to Life
Now comes the exciting part – painting unfinished cabinets!
Step 8: Apply Paint
- Choose Quality Paint: Use a high-quality cabinet-grade paint, such as an acrylic enamel or a lacquer. These paints are formulated for durability, hardness, and resistance to stains and wear.
- Application Methods (Same as Primer):
- Brushing: Use a good quality angled brush for edges and details.
- Rolling: A foam roller is excellent for large, flat surfaces.
- Spraying: For the smoothest finish, spray painting is recommended.
- Apply Thin, Even Coats: Just like with primer, apply thin, even coats of paint. Two to three thin coats are usually better than one thick coat.
- Allow Drying Time Between Coats: Follow the paint manufacturer’s recommended drying times between coats. Rushing this process can lead to peeling or an uneven finish.
- Work with the Grain: Always apply paint in the direction of the wood grain for a professional look.
Step 9: Light Sanding Between Coats (Optional but Recommended)
For an even smoother finish, you can lightly sand between paint coats.
- Use Very Fine Grit: A 320-grit or 400-grit sandpaper is ideal.
- Gentle Sanding: Lightly sand each coat after it’s dry. This helps to level out any minor imperfections or dust specks that may have settled.
- Clean Again: Always clean with a tack cloth after sanding between coats.
Staining Unfinished Wood Cabinets: Revealing Natural Beauty
If you chose to stain, follow these steps to achieve beautiful, rich color.
Step 8 (Stain): Apply Wood Stain
- Choose Your Stain: Select a good quality wood stain in your desired color. Oil-based stains penetrate the wood for a richer, deeper color and are generally more durable, but they take longer to dry. Water-based stains dry faster and are easier to clean up.
- Test the Stain: Always test the stain on a scrap piece of the same wood or an inconspicuous area of a cabinet door. Stains can look different on various wood species.
- Application Methods:
- Rag Application: Apply the stain generously with a lint-free cloth or foam applicator, working it into the wood grain.
- Brush Application: A high-quality natural bristle brush can also be used, but ensure you wipe off excess with a cloth.
- Work in Sections: Apply the stain to one section at a time, such as one door or a portion of a cabinet frame.
- Wipe Off Excess: After allowing the stain to penetrate for the time recommended by the manufacturer (usually 5-15 minutes), wipe off the excess stain with a clean, lint-free cloth. Wipe with the grain to remove any puddles or unevenness. The longer you leave the stain on before wiping, the darker the color will be.
Step 9 (Stain): Apply a Second Coat (If Needed)
- Assess the Color: Once the first coat is dry, assess the color. If you desire a deeper hue, apply a second coat of stain, following the same process.
- Drying Time: Allow the stain to dry completely. This can take 24-48 hours, depending on the type of stain and environmental conditions. Ensure it’s fully dry before moving to the next step, as a damp stain can affect the topcoat.
Sealing Unfinished Cabinets: The Protective Topcoat
Sealing unfinished cabinets is the final, crucial step to protect your hard work and ensure longevity. This topcoat shields the paint or stain from moisture, grease, and abrasion.
Step 10: Apply a Protective Topcoat (Sealer/Top Coat)
Whether you painted or stained, you need a clear protective topcoat.
- Choose the Right Topcoat:
- For Painted Cabinets: A polyurethane (water-based or oil-based), polycrylic, or a lacquer is recommended. Water-based polyurethanes and polycrylics are generally more durable, resistant to yellowing, and easier to clean up. Oil-based polyurethanes offer a slightly warmer tone but can yellow over time.
- For Stained Cabinets: Polyurethane (oil-based for durability and a slightly warmer tone, water-based for clarity and faster drying) or a lacquer are common choices.
- Application Methods:
- Brushing: Use a high-quality synthetic brush for water-based products or a natural bristle brush for oil-based products. Apply thin, even coats.
- Spraying: This is the best method for achieving a smooth, factory-like finish.
- Wiping (for some oil-based finishes): Some oil-based finishes can be applied with a lint-free cloth for a more natural, wiped-on look.
- Apply Thin, Even Coats: Apply 2-3 thin, even coats. Avoid applying too thickly, as this can lead to drips and an uneven sheen.
- Allow Drying Time: Let each coat dry completely according to the manufacturer’s instructions before applying the next. This is vital for durability.
Step 11: Light Sanding Between Topcoats (Optional but Recommended)
- Use Very Fine Grit: After each coat of topcoat is dry, lightly sand with 320-grit or 400-grit sandpaper.
- Smooth the Surface: This step smooths out any imperfections and creates a better surface for the next coat to adhere to.
- Clean Thoroughly: Always use a tack cloth to remove all dust before applying the next coat.
Reassembling Your Beautifully Finished Cabinets
Step 12: Reassemble
- Allow Full Cure Time: Before reassembling, ensure the final topcoat has had sufficient time to cure, not just dry. Check the product’s specifications for cure times, which can be several days to a week.
- Reattach Hardware: Reinstall hinges, knobs, and handles.
- Hang Doors and Insert Drawers: Carefully reattach doors and insert drawers back into their designated places.
Protecting Finished Cabinets: Long-Term Care
Proper care will keep your newly finished cabinets looking great for years.
- Regular Cleaning: Wipe down cabinets regularly with a soft, damp cloth. For tougher grime, use a mild soap and water solution or a recommended cabinet cleaner.
- Avoid Harsh Chemicals: Never use abrasive cleaners, ammonia-based cleaners, or furniture polish with silicone, as they can damage the finish.
- Immediate Spill Cleanup: Wipe up spills immediately to prevent staining or damage to the finish.
- Use Trivets and Mats: Protect cabinet surfaces near the stove and sink from heat and moisture with trivets and mats.
Cabinet Finishing Supplies Checklist
To help you get started, here’s a comprehensive list of cabinet finishing supplies you’ll likely need:
Preparation & Cleaning:
* Screwdrivers
* Painter’s tape
* Labels and marker
* Mild dish soap
* Clean cloths (lint-free)
* Sponges
* Degreaser (optional)
* Wood filler
* Putty knife
Sanding:
* Orbital sander (optional but recommended)
* Sanding blocks
* Sandpaper in various grits: 100, 120, 150, 180, 220, 320, 400
* Tack cloths
* Vacuum with brush attachment
* Compressed air (optional)
Priming & Painting:
* High-quality primer (oil-based, shellac-based, or water-based)
* High-quality cabinet paint (acrylic enamel, lacquer)
* Paint brushes (synthetic for water-based, natural for oil-based)
* Foam rollers
* Roller trays
* Paint sprayer (optional)
* Paint thinner or water for cleanup (depending on paint type)
Staining:
* Wood stain (oil-based or water-based)
* Lint-free cloths or rags
* Foam applicators
* Gloves
Topcoat/Sealing:
* Polyurethane (water-based or oil-based) or Polycrylic
* Applicators (brushes, rollers, sprayer)
* Gloves
Safety Gear:
* Safety glasses or goggles
* Dust mask or respirator
* Work gloves
* Drop cloths or old sheets
Frequently Asked Questions (FAQ)
Q: How long does it take to finish unfinished kitchen cabinets?
A: The time it takes can vary significantly based on the size of your kitchen, the chosen finish, and your experience level. However, a typical project can take anywhere from a weekend to a week or more, accounting for drying and curing times between coats. Patience is key!
Q: Can I paint over stained cabinets?
A: Yes, you can paint over stained cabinets, but proper preparation is essential. You’ll need to thoroughly clean, sand, and prime the cabinets before painting to ensure the paint adheres well and doesn’t peel.
Q: What is the most durable finish for kitchen cabinets?
A: High-quality polyurethane (especially water-based polyurethanes or polycrylics) and lacquers are generally considered the most durable finishes for kitchen cabinets, offering excellent resistance to moisture, stains, and wear.
Q: Do I need to sand between every coat?
A: While not strictly mandatory for every single coat, sanding lightly between coats (especially paint and topcoats) with a very fine grit sandpaper and cleaning thoroughly with a tack cloth will significantly improve the smoothness and adhesion of subsequent layers, leading to a more professional and durable finish.
Q: Can I spray my kitchen cabinets with a paint sprayer?
A: Yes, using a paint sprayer is an excellent way to achieve a smooth, professional finish on kitchen cabinets. Ensure you have good ventilation, wear a respirator, and protect surrounding areas from overspray. Practice on scrap material first if you are new to sprayers.
By following these detailed steps, you can transform unfinished kitchen cabinets into a beautiful and functional focal point of your home. Happy finishing!