
Image Source: boggsinspect.com
Fix Low Water Pressure: How To Increase Water Pressure In Kitchen Faucet
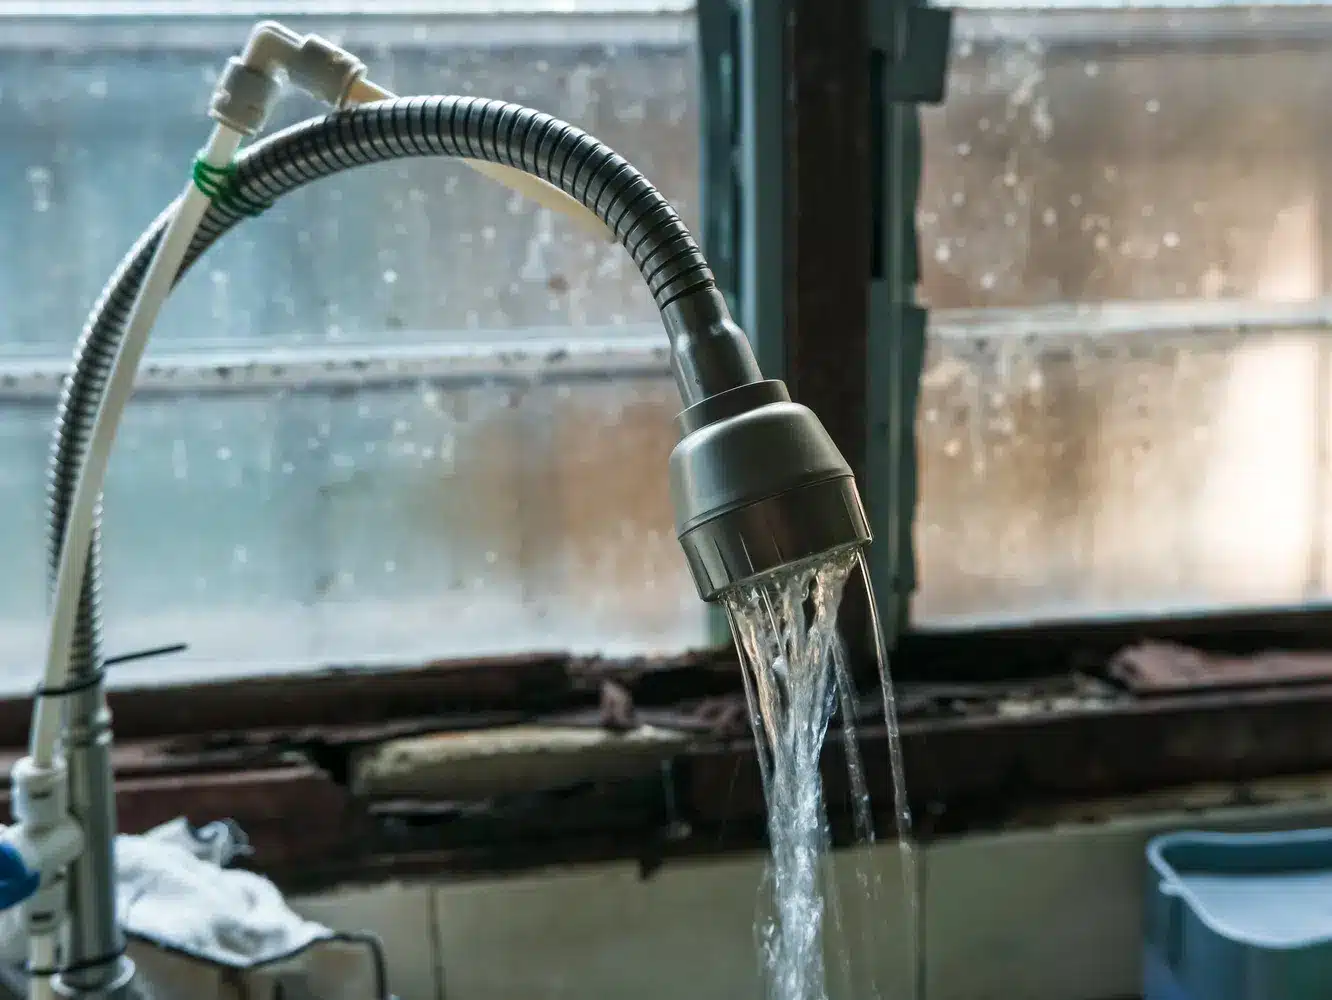
Do you have low water pressure at your kitchen faucet? Yes, you can likely increase your kitchen faucet’s water pressure by troubleshooting common issues. This guide will walk you through the steps to boost your water flow.
A weak stream from your kitchen faucet can be frustrating, turning simple tasks like washing dishes or filling a pot into a time-consuming chore. While many homes enjoy robust water pressure, others struggle with a trickle that makes everyday life inconvenient. The good news is that this problem often has straightforward solutions. This in-depth guide will help you diagnose the cause of your low water pressure in the kitchen and provide practical steps to improve it. We’ll cover everything from simple fixes like cleaning your faucet’s aerator to more complex issues like checking your water pressure regulator and potential problems with clogged pipes.
Common Causes of Weak Kitchen Faucet Flow
Several factors can contribute to a sluggish flow from your kitchen faucet. Identifying the root cause is the first step to restoring optimal water pressure.
1. Clogged Faucet Aerator
The aerator is a small screen at the tip of your faucet. It mixes air with water, creating a smoother stream. Over time, sediment, mineral deposits, and debris can build up in the aerator, restricting water flow. This is often the most common and easiest fix for low water pressure.
2. Kinked or Damaged Water Supply Line
The flexible hoses that connect your faucet to the water supply valves under the sink can become kinked or flattened. This physical obstruction severely limits the amount of water that can pass through.
3. Water Pressure Regulator Issues
Many homes have a water pressure regulator installed where the main water line enters the house. This device prevents excessive water pressure, which can damage your plumbing. However, if the regulator itself is faulty or set too low, it can cause low water pressure throughout your home, including your kitchen sink.
4. Partially Closed Main Water Shutoff Valve
The main water shutoff valve controls the water supply to your entire house. If this valve is not fully open, it will restrict water flow to all fixtures, including your kitchen faucet. This might happen accidentally after plumbing work or due to a faulty valve.
5. Sediment Buildup in Pipes
Over years, minerals and sediment can accumulate inside your pipes, narrowing the passageways and reducing water flow. This is more common in older homes or areas with hard water. Clogged pipes can affect the entire plumbing system.
6. Low Hot Water Pressure
If you only experience low pressure with hot water, the issue likely lies with your water heater or its supply lines. Problems could include sediment buildup in the water heater, a partially closed hot water shutoff valve, or issues with the heating element. This is distinct from a general low water pressure issue.
7. Leaks in the Plumbing System
Even small leaks can reduce the overall water pressure at your fixtures. A leak in the supply line to your kitchen faucet or elsewhere in your plumbing system could be the culprit.
8. Municipal Water Supply Problems
Occasionally, low water pressure can be an issue with the local water supply provided by your municipality. This is usually a temporary problem, but it’s worth considering if multiple homes in your area are experiencing the same issue.
Step-by-Step Guide to Increasing Kitchen Faucet Water Pressure
Let’s get your kitchen faucet flowing with renewed vigor! Follow these steps systematically.
Step 1: Check the Faucet Aerator
This is the simplest and most common solution.
What you’ll need:
* Adjustable wrench or pliers
* Old toothbrush or small brush
* White vinegar
* Bowl or cup
How to do it:
1. Turn off the water supply: Locate the hot and cold water shutoff valves under your kitchen sink. Turn them clockwise until they are fully closed.
2. Remove the aerator: Carefully unscrew the aerator from the tip of the faucet spout. You might be able to do this by hand, but if it’s tight, use pliers or a wrench. Wrap a cloth around the aerator to protect its finish from the tool.
3. Disassemble the aerator: The aerator is usually made of a few parts: the outer casing, a screen or mesh, and sometimes a flow-restricting washer. Gently take these apart.
4. Clean the parts: Soak the aerator parts in a bowl of white vinegar for at least an hour (or overnight for stubborn buildup). The vinegar helps dissolve mineral deposits.
5. Scrub and rinse: Use an old toothbrush or small brush to scrub away any remaining debris from the screen and other components. Rinse all parts thoroughly under running water.
6. Reassemble and reinstall: Put the aerator back together and screw it back onto the faucet spout. Tighten it hand-tight, then give it a slight turn with pliers if needed, being careful not to overtighten.
7. Turn on water and test: Slowly turn the water supply valves back on. Turn on the faucet and check the water pressure.
If this doesn’t solve the problem, or if the aerator was already clean, proceed to the next step.
Step 2: Inspect the Supply Lines
Check the flexible hoses connecting your faucet to the shutoff valves.
What you’ll need:
* A towel or bucket to catch drips
How to do it:
1. Turn off the water supply: Again, ensure the shutoff valves under the sink are fully closed.
2. Examine the lines: Look for any obvious kinks, bends, or crushing in the flexible hoses. Sometimes, these hoses can get twisted when installing a new faucet or under-sink appliance.
3. Gently straighten kinks: If you find a kink, try to gently straighten the hose. Be careful not to damage the material.
4. Consider replacement: If a hose is severely kinked, flattened, or appears damaged (cracked, bulging), it’s best to replace it. You can purchase new braided stainless steel supply lines at any hardware store. Ensure you get the correct length and connector sizes.
5. Turn on water and test: After inspecting or replacing the lines, slowly turn the water supply valves back on and test the faucet.
Step 3: Check the Main Water Shutoff Valve
Ensure the primary valve for your home’s water supply is fully open.
What you’ll need:
* Possibly a wrench, depending on the valve type.
How to do it:
1. Locate the main valve: The main water shutoff valve is typically found where the water line enters your house. This could be in your basement, crawl space, garage, or near your water meter. It usually has a lever handle or a round handle.
2. Verify it’s fully open: If it’s a lever handle, it should be parallel to the pipe. If it’s a round handle, it should be turned as far counter-clockwise as it will go.
3. Open it fully: If it’s partially closed, open it completely. Sometimes, old valves can be stiff. If you can’t move it easily, don’t force it, as you could break it. You may need to call a plumber.
4. Test the faucet: After ensuring the main valve is open, test your kitchen faucet.
Step 4: Investigate the Water Pressure Regulator
If you have a regulator, it might be the cause.
What you need to know:
* The typical water pressure in a home should be between 40-60 PSI (pounds per square inch). Many regulators are set around 50 PSI.
* A water pressure regulator is usually installed on the main water line after the main shutoff valve. It often looks like a bell-shaped brass device.
How to check it:
1. Locate the regulator: Find the water pressure regulator on your main water line.
2. Test your home’s water pressure: You can purchase a simple water pressure gauge at a hardware store that screws onto an outdoor spigot or washing machine hookup. Turn on the spigot and read the pressure. If it’s significantly below 40 PSI, the regulator might be set too low or malfunctioning.
3. Adjust the regulator (if adjustable): Some regulators have an adjustment screw or nut. Turning this screw clockwise typically increases pressure, and counter-clockwise decreases it. Make small adjustments (half a turn at a time) and re-test the pressure. Caution: Do not set the pressure above 60-70 PSI, as this can damage your plumbing and appliances. If you’re unsure, consult a plumber.
4. Consider replacement: If the regulator is old, corroded, or doesn’t respond to adjustments, it may need to be replaced. This is often a job for a professional plumber.
Step 5: Address Potential Clogged Pipes
Persistent low water pressure can indicate sediment buildup within your pipes.
What this might involve:
* Plumbing inspection: A plumber can perform a thorough plumbing inspection to identify areas of significant sediment buildup.
* Pipe flushing: In some cases, plumbers can flush the pipes to remove debris.
* Pipe replacement: For severely corroded or clogged pipes, replacement might be the only long-term solution.
This is a more advanced issue that typically requires professional help.
Step 6: Troubleshoot Low Hot Water Pressure
If only your hot water is affected, focus on the water heater.
Things to check:
* Water Heater Shutoff Valve: Ensure the valve supplying water to your hot water heater is fully open.
* Sediment Buildup in Water Heater: Sediment can accumulate at the bottom of your water heater tank, restricting hot water flow. Draining and flushing the tank can help. Refer to your water heater’s manual for instructions.
* Dip Tube: The dip tube in some water heaters can degrade over time, causing a blockage.
* Heating Element: In electric water heaters, a faulty element can sometimes affect pressure.
These issues are best addressed by a qualified plumber or appliance technician.
Other Factors to Consider
Faucet Cartridge or Valve Issues
Inside your faucet, a cartridge or valve controls the flow of hot and cold water. These can become worn or clogged with mineral deposits, reducing pressure.
How to diagnose:
* If low water pressure affects only one faucet (and you’ve ruled out the aerator and supply lines), the faucet’s internal components are a likely suspect.
* You may need to remove the handle and access the cartridge or valve. Cleaning or replacing this part can often restore pressure. This can be a DIY task for some, but if you’re not comfortable, call a plumber.
Leaky Faucet or Supply Lines
A drip from your faucet or a small leak under the sink can silently siphon off water pressure.
What to look for:
* Check all connections under the sink for drips.
* Inspect the faucet itself for any signs of leakage.
* Repairing leaks promptly can help maintain optimal water pressure and prevent water damage and high water bills.
Comparing to Other Fixtures
To further pinpoint the problem, compare the water pressure at your kitchen faucet to other fixtures in your home.
What to compare:
* Shower head: How is the pressure from your shower head? If it’s also weak, the issue is likely with the main water supply or pipes. If the shower pressure is good, the problem is specific to your kitchen faucet or its supply.
* Bathroom faucets: Check the pressure at your bathroom sink faucets. If all fixtures have low pressure, the problem is widespread. If only the kitchen is affected, the issue is localized.
When to Call a Professional Plumber
While many of these steps can be tackled by a homeowner, some situations warrant professional assistance.
Call a plumber if:
* You’ve tried cleaning the aerator and checking supply lines, and the pressure hasn’t improved.
* You suspect a problem with your water pressure regulator and aren’t comfortable adjusting it yourself.
* You believe you have clogged pipes or sediment buildup within your plumbing system.
* You need to replace a faulty main water shutoff valve.
* You suspect a leak in a hidden location.
* You’re not comfortable performing any of the troubleshooting steps.
* You experience low water pressure throughout your entire home.
* You want a professional plumbing inspection to ensure your system is working correctly.
A plumber can accurately diagnose complex issues and perform repairs safely and efficiently, preventing further damage and ensuring your water pressure is restored. They can also advise on potential issues like premature pipe corrosion which might lead to future problems and affect your high water bills.
Frequently Asked Questions (FAQ)
Q1: Can I increase the water pressure to my entire house if my kitchen faucet has low pressure?
A1: Yes, if the issue is with your main water supply or regulator, addressing those will improve pressure throughout the house. However, if the problem is specific to the kitchen faucet, improvements will be localized.
Q2: How do I know if my water pressure regulator is faulty?
A2: If your home’s water pressure is consistently too low (below 40 PSI) or too high (above 60-70 PSI), and you’ve ruled out other issues like clogged aerators, your regulator might be the cause. A plumber can test and confirm this.
Q3: What are signs of clogged pipes?
A3: Signs include widespread low water pressure, discolored water, gurgling sounds from pipes, and slow draining sinks or tubs.
Q4: How often should I clean my faucet aerator?
A4: It’s a good practice to clean your aerator every 3-6 months, or more frequently if you have hard water or notice a decrease in pressure.
Q5: Is it normal to have different water pressure for hot and cold water?
A5: Generally, hot and cold water pressure should be similar. If there’s a significant difference, especially with low hot water pressure, it often points to an issue with the water heater or its supply lines.
By systematically working through these troubleshooting steps, you can effectively diagnose and fix low water pressure at your kitchen sink, enjoying a stronger, more satisfying flow of water for all your daily tasks. Remember, regular maintenance like cleaning your aerator can prevent many of these issues.