
Can you update fluorescent lighting in a kitchen? Absolutely! Updating your kitchen’s fluorescent lighting is a fantastic way to brighten your cooking space, boost energy efficiency, and modernize its look. This guide will walk you through the simple steps and options for a successful kitchen lighting upgrade, from replacing tubes to full conversions.
Your kitchen lighting sets the mood and functionality of your home’s culinary hub. Old, flickering fluorescent lights can cast a dull, uninviting glow. They can also be energy hogs and contain materials that are no longer considered ideal. Fortunately, upgrading is easier and more affordable than you might think. We’ll explore how to achieve a brighter, more efficient, and stylish kitchen.
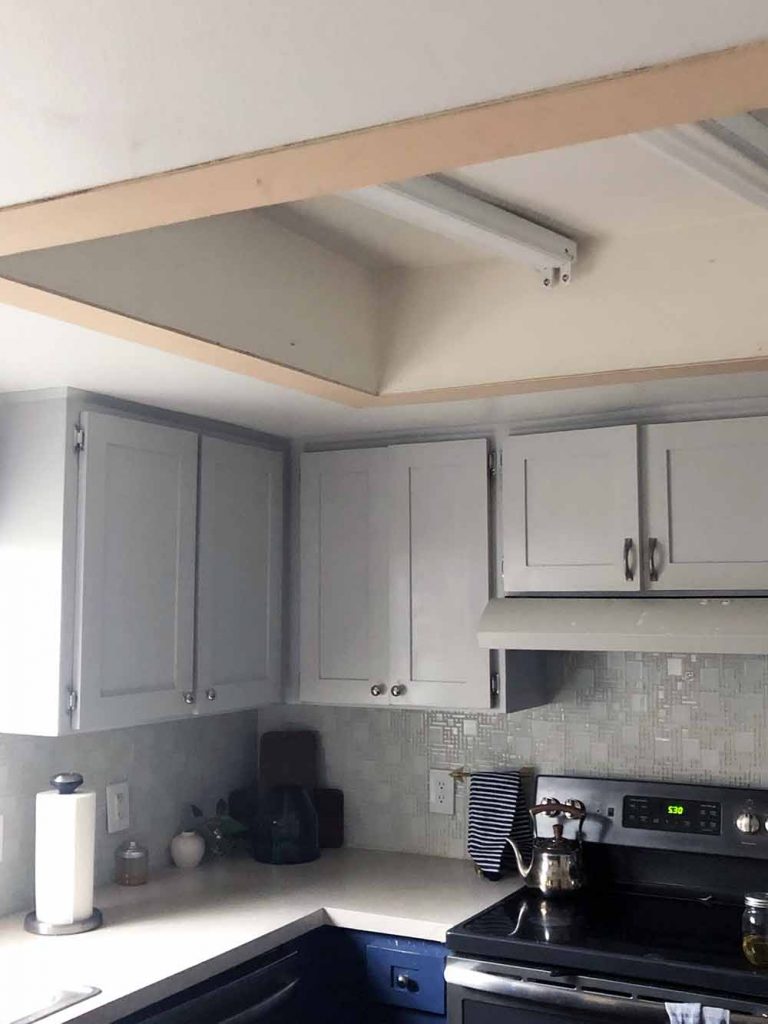
Image Source: mydesignrules.com
Why Update Your Kitchen Fluorescent Lights?
Updating your fluorescent lighting offers several compelling benefits that directly impact your kitchen’s atmosphere, your wallet, and the environment.
Improved Aesthetics and Ambiance
Fluorescent lights often have a sterile, cool-toned light that can make a kitchen feel unwelcoming. Modern lighting solutions offer a spectrum of color temperatures, allowing you to create a warm, inviting, or crisp, clean look.
Enhanced Visibility and Task Lighting
A well-lit kitchen is crucial for safe food preparation. Older fluorescent fixtures might not provide even illumination, leading to shadows and reduced visibility. Newer options offer superior brightness and uniformity, making chopping vegetables or reading recipes a breeze.
Energy Efficiency and Cost Savings
Fluorescent lights, while an improvement over incandescent bulbs of the past, are significantly less energy-efficient than modern LED technology. By making the switch, you can dramatically reduce your electricity consumption, leading to lower utility bills.
Longevity and Reduced Maintenance
LED bulbs and fixtures have a much longer lifespan than traditional fluorescent tubes. This means fewer replacements, less hassle, and long-term savings on maintenance costs.
Environmental Benefits
Using less energy means a smaller carbon footprint. Modernizing your kitchen lighting with energy-efficient options contributes to a more sustainable household.
Modernizing Kitchen Lights
Outdated fixtures can make a kitchen look tired. A lighting update is one of the most effective ways to give your kitchen a fresh, contemporary feel without a complete renovation.
Common Fluorescent Fixture Types in Kitchens
Before diving into upgrades, it’s helpful to identify the type of fluorescent fixture you currently have. This will guide your upgrade path.
Strip Lights
These are long, rectangular fixtures often found mounted flush to the ceiling. They typically house one or two fluorescent tubes.
Under Cabinet Lights
Many kitchens utilize fluorescent tubes or compact fluorescent lamps (CFLs) tucked under cabinets to provide task lighting for countertops. These are often in shallow, enclosed fixtures.
Wraparound Fixtures
These fixtures have a diffuser that wraps around the entire fluorescent tube, providing a broad, diffused light. They are common in older kitchens.
Recessed Fluorescent Fixtures
Less common in kitchens than other types, but some older homes might have larger, square or rectangular recessed fluorescent units.
Options for Upgrading Fluorescent Lighting
There are several approaches to updating your fluorescent kitchen lights, ranging from simple replacements to complete fixture overhauls.
1. Fluorescent Tube Replacement with LED Equivalents
This is often the simplest and most cost-effective way to upgrade.
What is a fluorescent to LED conversion?
A fluorescent to LED conversion involves replacing the old fluorescent tubes with new LED tubes designed to fit into existing fluorescent fixtures. This is a popular DIY project.
Pros:
- Easy Installation: Many LED tubes are plug-and-play, requiring minimal effort.
- Cost-Effective: Usually cheaper than replacing the entire fixture.
- Immediate Energy Savings: LEDs consume significantly less power.
- Improved Light Quality: Brighter, flicker-free light.
Cons:
- Ballast Compatibility: You might need to consider how the LED tube interacts with the existing ballast.
Types of LED Tubes for Conversion
- Type A (Ballast Compatible): These tubes are designed to work directly with the existing fluorescent ballast. They are the easiest to install but may not offer the full energy savings as the ballast still consumes some power.
- Type B (Ballast Bypass): These tubes require the ballast to be bypassed or removed. The LED tube then connects directly to the mains power. This offers the greatest energy savings and eliminates a potential point of failure, but it’s a more involved installation process.
- Type C (External Driver): These tubes use an external LED driver instead of an internal ballast. They offer excellent efficiency and control but are less common for simple fluorescent fixture retrofits.
- Type A+B (Hybrid): Some tubes can operate with or without a ballast, offering flexibility.
Performing a T8 to LED Conversion
If your kitchen has T8 fluorescent tubes (the most common type), a T8 to LED conversion is straightforward.
Steps for T8 to LED Conversion:
- Safety First: TURN OFF THE POWER to the lighting fixture at the circuit breaker. Verify the power is off by testing the switch or using a voltage tester.
- Remove the Diffuser: Carefully detach the plastic cover or diffuser of the fluorescent fixture.
- Remove Old Tubes: Gently twist and pull out the old fluorescent tubes.
- Check Your Ballast: Determine if your ballast is magnetic (older, heavier) or electronic (newer, lighter). This will influence your LED tube choice (Type A vs. Type B).
- Install LED Tubes:
- For Type A tubes: Simply insert the new LED tubes into the sockets.
- For Type B tubes (Ballast Bypass): You will need to bypass the ballast. This involves opening the fixture’s electrical compartment, disconnecting the wires leading to the ballast, and then wiring the LED tubes directly to the power source according to the manufacturer’s instructions. If you are not comfortable with electrical wiring, hire a qualified electrician for this step.
- Replace the Diffuser: Reattach the plastic cover.
- Restore Power: Turn the circuit breaker back on.
- Test: Turn on the light switch to test your new LED lighting.
Table: T8 to LED Conversion Considerations
| Feature | Type A (Ballast Compatible) | Type B (Ballast Bypass) |
|---|---|---|
| Installation | Easiest, plug-and-play | Requires ballast removal/bypass |
| Energy Savings | Good, but ballast still uses some power | Highest, as ballast is eliminated |
| Cost | Slightly higher initial tube cost | Can be slightly lower tube cost, but requires careful wiring |
| Lifespan | Generally good, but dependent on ballast | Generally excellent |
| Flicker | Typically flicker-free | Always flicker-free |
| Safety | Minimal electrical work | Requires electrical knowledge/professional |
Fluorescent Tube Replacement Options Table
| Tube Type | Description | Best For |
|---|---|---|
| T12 LED | Direct replacements for older, larger T12 fluorescent tubes. | Older fixtures with T12 tubes, offering a simple upgrade. |
| T8 LED | Direct replacements for T8 fluorescent tubes (most common). | Standard kitchen fluorescent fixtures. |
| T5 LED | Smaller diameter tubes, often used in more compact or modern fixtures. | Newer or sleeker fixtures, often found in under cabinet lighting. |
| U-Bend LED | Shaped like a U, mimicking the form of some fluorescent tubes. | Fixtures designed for U-shaped fluorescent bulbs. |
2. Upgrading Under Cabinet Lighting
Under cabinet lighting update is crucial for task lighting. If you have fluorescent tubes or CFLs under your cabinets, switching to LEDs is a smart move.
Options for Under Cabinet Lighting Update:
- LED Strip Lights: Flexible LED strips are easy to install and can be cut to size. They offer even illumination and are available in various color temperatures. Many come with adhesive backing for simple mounting.
- LED Puck Lights: Small, disc-shaped lights that can be mounted individually under cabinets or shelves. They provide focused light and can be wired together or run on batteries.
- LED Bar Lights: Rigid LED bars offer a more diffused and powerful light than strips and are a direct replacement for some under-cabinet fluorescent fixtures.
Installation Tips for Under Cabinet LEDs:
- Measure Carefully: Determine the exact length needed for LED strips or the number of pucks required.
- Plan Wiring: Decide if you want to hardwire the lights or use plug-in adapters. Concealing wires is key for a clean look. Use cable management clips or raceways.
- Test Before Mounting: Connect the LEDs to power to ensure they work correctly before permanently affixing them.
3. Replacing the Entire Fixture
If your fluorescent fixtures are old, damaged, or you want a completely new look, replacing the entire fixture is the best option. This allows you to choose from a wide array of modern lighting styles.
Types of Modern Kitchen Fixtures:
- LED Panel Lights: These are sleek, flat panels that provide a very even and modern light. They can replace entire fluorescent troffers or wraparound fixtures and offer excellent brightness.
- Recessed LED Downlights: Installing recessed lighting can create a clean, modern look and provide excellent general illumination.
- Pendant Lights or Track Lighting: These can add decorative flair and functional lighting, highlighting specific areas like kitchen islands or countertops.
- Flush Mount LED Fixtures: Many modern flush mount fixtures offer integrated LED technology, providing a contemporary look without the bulk of older fluorescent housings.
Hiring a Professional:
While some fixture replacements can be DIY, complex installations involving new wiring or extensive modifications are best left to a qualified electrician. This ensures safety and compliance with electrical codes.
Achieving Energy Efficient Kitchen Lighting
Making your kitchen lighting more energy efficient is a primary benefit of upgrading.
Understanding Lumens and Color Temperature
- Lumens (lm): This measures brightness. More lumens mean a brighter light. For kitchen task areas, aim for 1500-2000 lumens per task area (e.g., over the stove or sink).
- Color Temperature (Kelvin – K): This describes the “warmth” or “coolness” of the light.
- 2700K – 3000K (Warm White): Cozy, inviting light, similar to incandescent bulbs. Good for general ambient lighting.
- 3500K – 4000K (Cool White/Neutral): Brighter, cleaner light. Excellent for task lighting and general kitchen use.
- 5000K – 6500K (Daylight): Very bright, crisp light that mimics natural daylight. Best for areas where detail and accuracy are important, like a workbench.
Choosing the Right LED Products
- Look for ENERGY STAR certified products: These meet strict energy efficiency guidelines.
- Consider CRI (Color Rendering Index): A higher CRI (80+) means colors will appear more natural and vibrant under the light. This is important in the kitchen.
Smart Kitchen Lighting Integration
Elevate your kitchen lighting further by incorporating smart technology.
What is smart kitchen lighting?
Smart kitchen lighting allows you to control your lights remotely via a smartphone app or voice commands, often through smart assistants like Alexa or Google Assistant.
Benefits of Smart Lighting:
- Convenience: Turn lights on/off, dim, or change color temperature without getting up.
- Energy Savings: Schedule lights to turn off automatically or dim when not needed.
- Customization: Create lighting “scenes” for different activities (e.g., “Cooking,” “Dinner,” “Relax”).
- Security: Simulate occupancy by turning lights on and off when you’re away.
How to Implement Smart Lighting:
- Smart Bulbs: Replace existing bulbs (including your new LED tubes if compatible with smart adapters) with smart bulbs.
- Smart Switches/Dimmers: Replace your existing wall switches with smart switches that can control the entire fixture or circuit.
- Smart Plugs: For plug-in LED fixtures, use smart plugs to control them.
Frequently Asked Questions (FAQ)
Q1: Do I have to replace the entire fluorescent fixture to use LED bulbs?
A1: No, you don’t always have to replace the entire fixture. You can often replace just the fluorescent tubes with LED retrofit tubes. However, you may need to bypass the ballast for maximum efficiency and lifespan.
Q2: What is a ballast bypass fluorescent conversion?
A2: A ballast bypass fluorescent conversion involves removing the old fluorescent ballast from the fixture and wiring the new LED tubes directly to the power source. This is often referred to as a “direct wire” or “ballast-free” conversion.
Q3: Can I put LED bulbs in any fluorescent fixture?
A3: You can install LED tubes that are specifically designed as direct replacements for your existing fluorescent tube type (e.g., T12 LED for T12 fluorescent, T8 LED for T8 fluorescent). You must also consider ballast compatibility (Type A or Type B LEDs).
Q4: How long do LED tubes last compared to fluorescent tubes?
A4: LED tubes typically last significantly longer than fluorescent tubes. While fluorescent tubes might last 10,000-20,000 hours, LED tubes can last 50,000 hours or more, often providing 3-5 times the lifespan.
Q5: Is it safe to bypass the ballast in a fluorescent fixture?
A5: Yes, it is safe if done correctly according to the manufacturer’s instructions and local electrical codes. However, if you are not comfortable working with electrical wiring, it is highly recommended to hire a qualified electrician to perform the ballast bypass.
Q6: What is the best type of lighting for a kitchen?
A6: A layered approach is best. This includes ambient lighting (general illumination), task lighting (for work areas like countertops and stove), and accent lighting (to highlight features). LED technology is ideal for all these applications due to its efficiency, longevity, and versatility.
Q7: How do I choose the right brightness (lumens) for my kitchen?
A7: For general ambient lighting, aim for about 20-30 lumens per square foot. For task lighting in areas like countertops, aim for 70-80 lumens per square foot. You can also use a lumen calculator online or consult with lighting professionals.
Q8: What is the difference between T8 and T12 fluorescent tubes?
A8: T12 tubes are older and larger in diameter (1.5 inches) and generally less efficient. T8 tubes are smaller (1 inch in diameter) and more energy-efficient. Most modern fluorescent fixtures use T8 tubes.
Q9: Can I use LED retrofit kits for my fluorescent lighting?
A9: Yes, LED retrofit kits are a common and effective way to update fluorescent lighting. These kits typically include LED tubes and instructions on how to bypass the existing ballast.
Q10: What are the benefits of energy efficient kitchen lighting?
A10: The primary benefits include lower electricity bills, reduced environmental impact, and a longer lifespan for your lighting components, leading to less frequent replacements and maintenance.
By following these steps and considering the various options available, you can successfully update your fluorescent lighting in the kitchen, creating a brighter, more inviting, and energy-efficient space.